5: Professionals – cut and bend around corner – add strength
6: Interior return corners also get nailed down
7: Screw the PVC corner post to the 2×6 corner brace
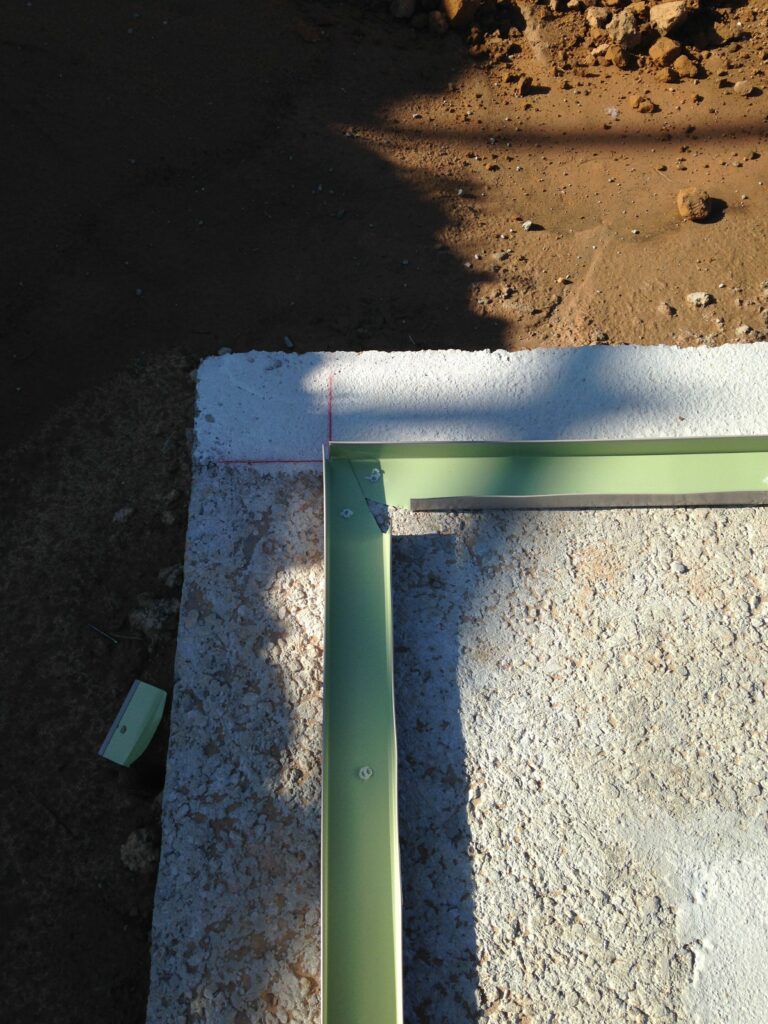
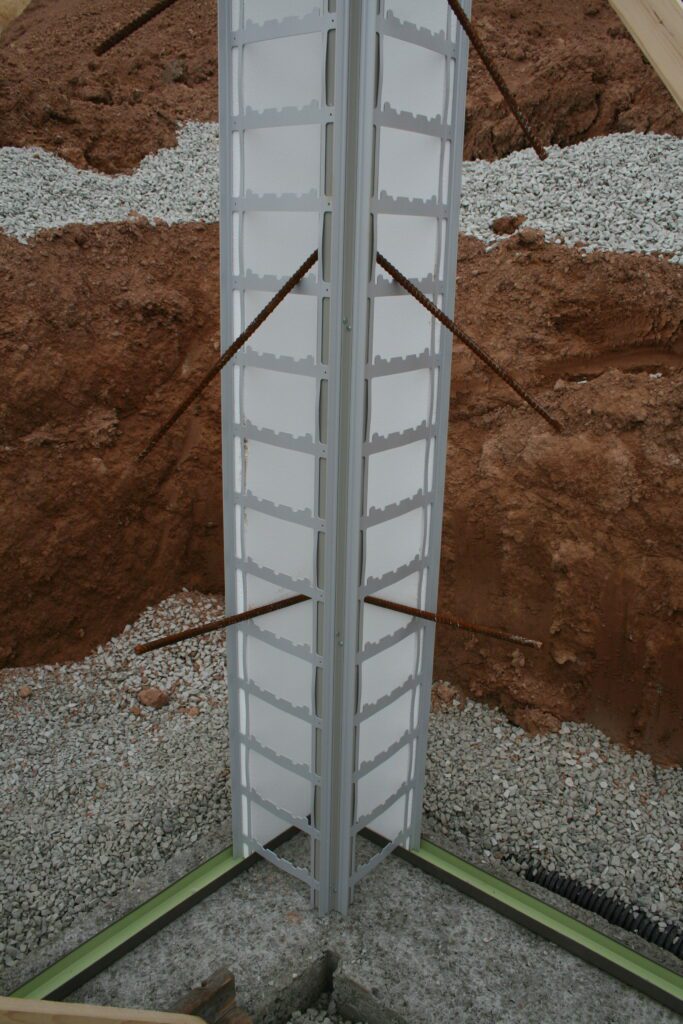
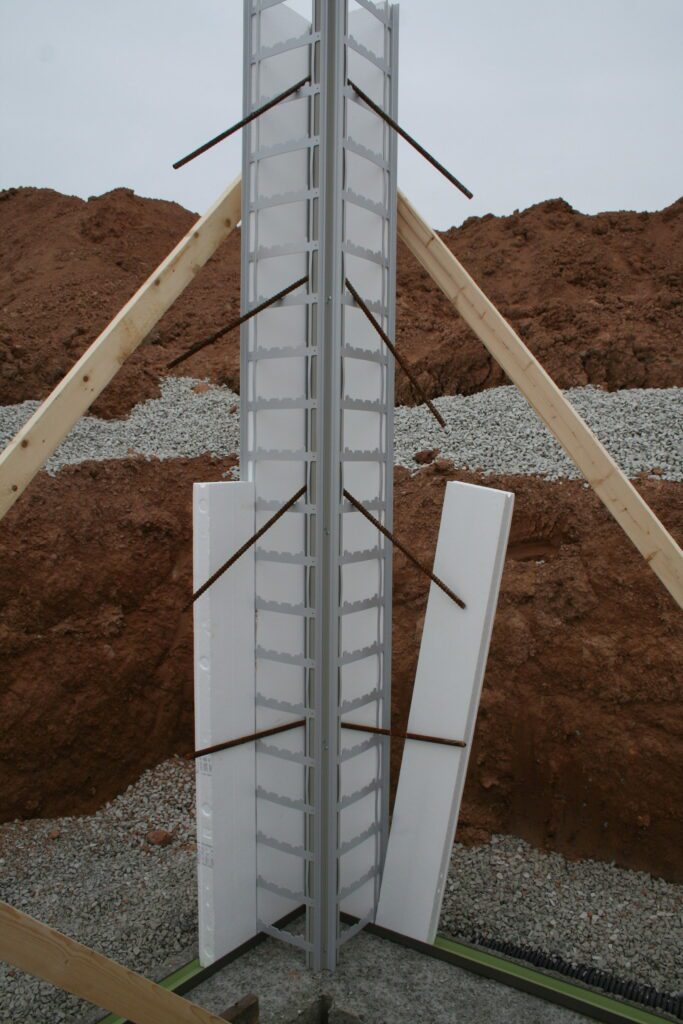
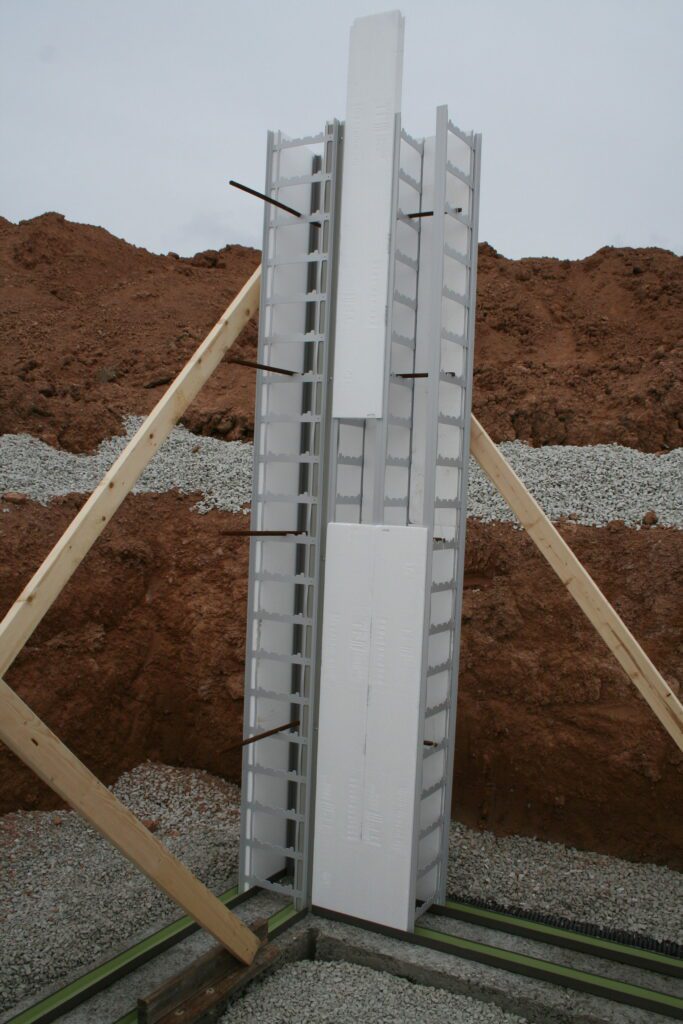
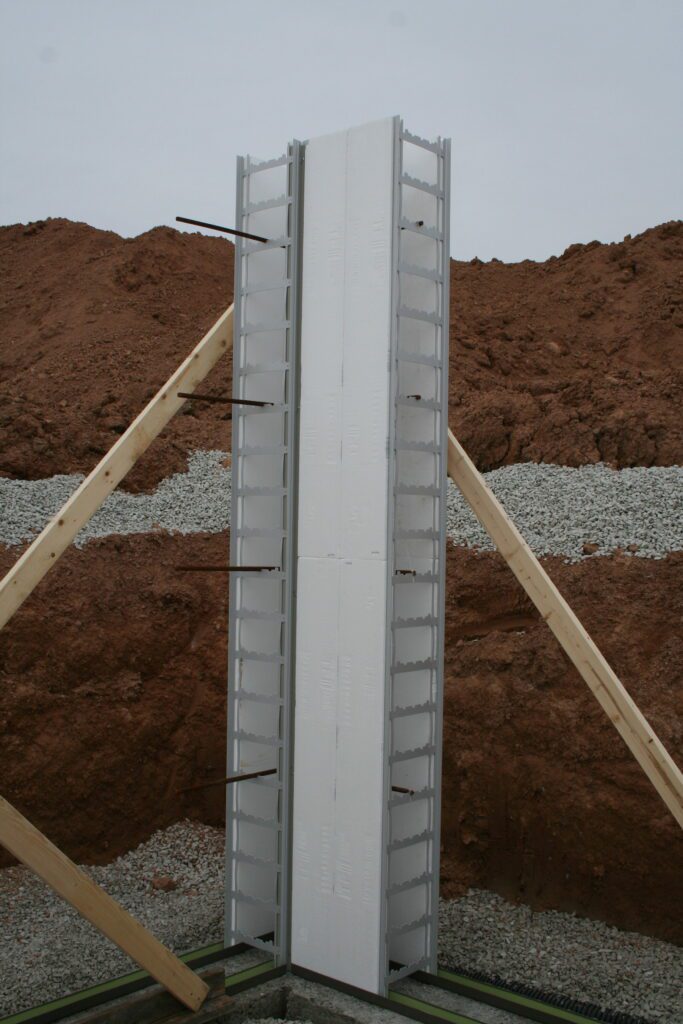
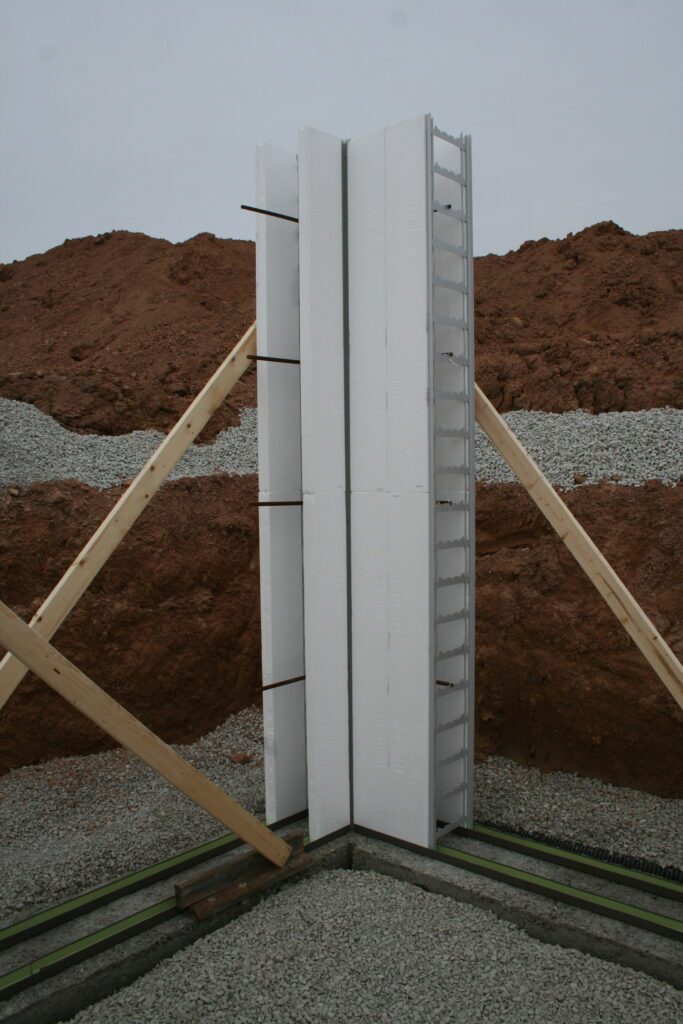
8: Completed corner
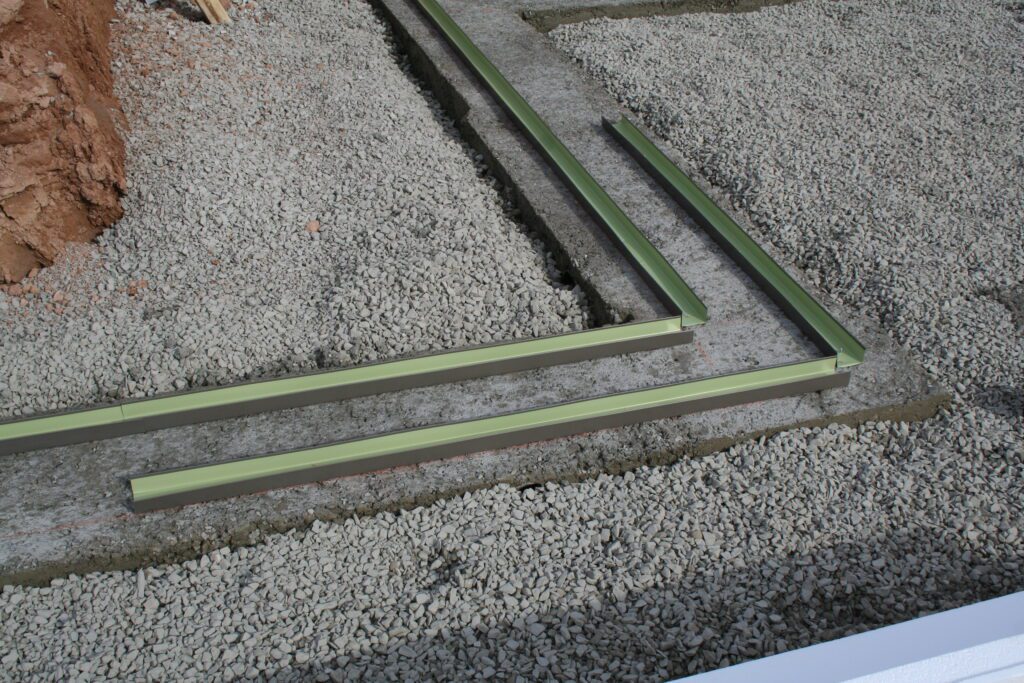
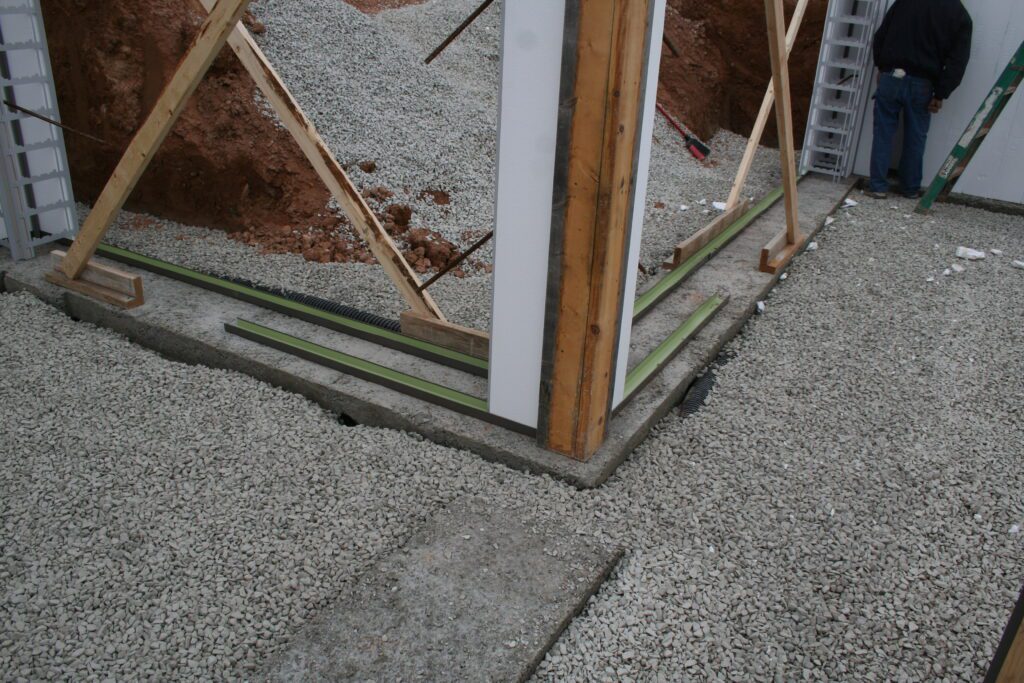
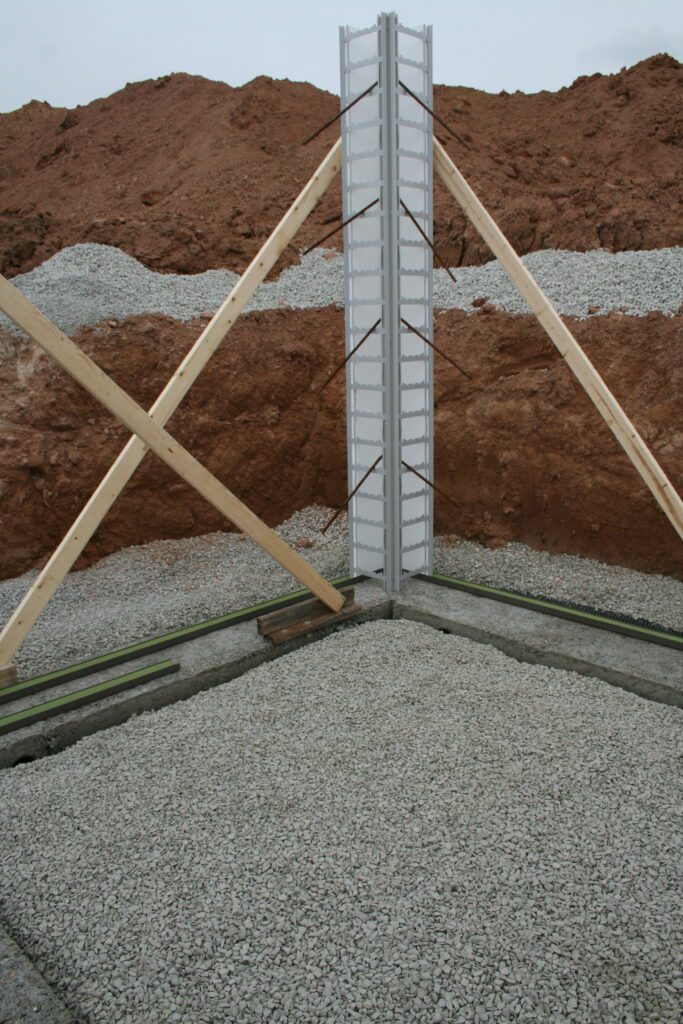
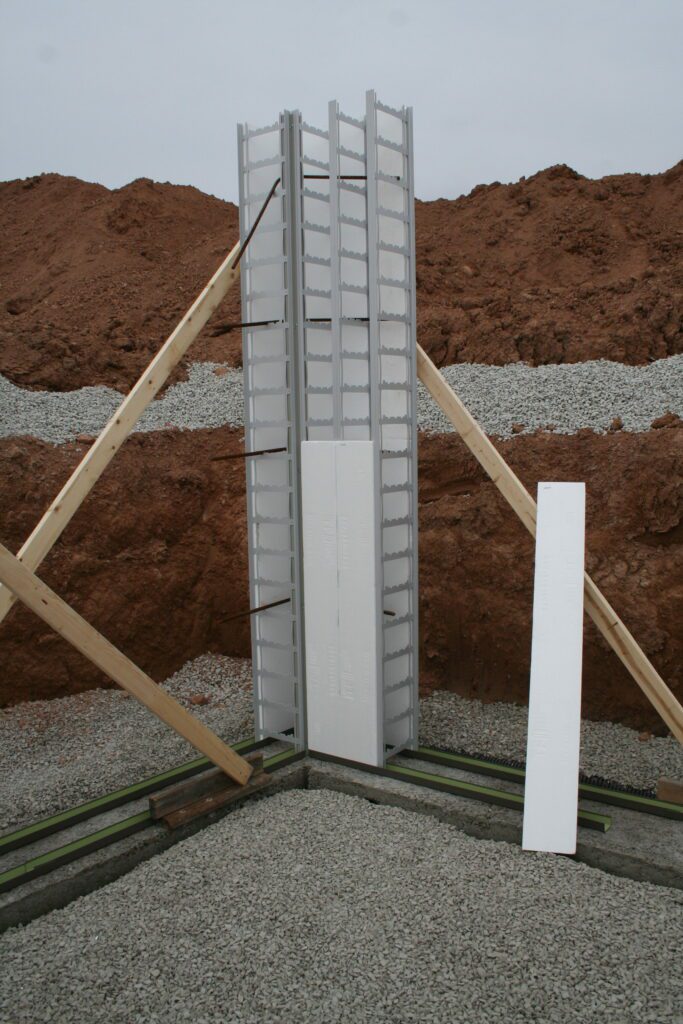
9: Stand corner up in c-channel
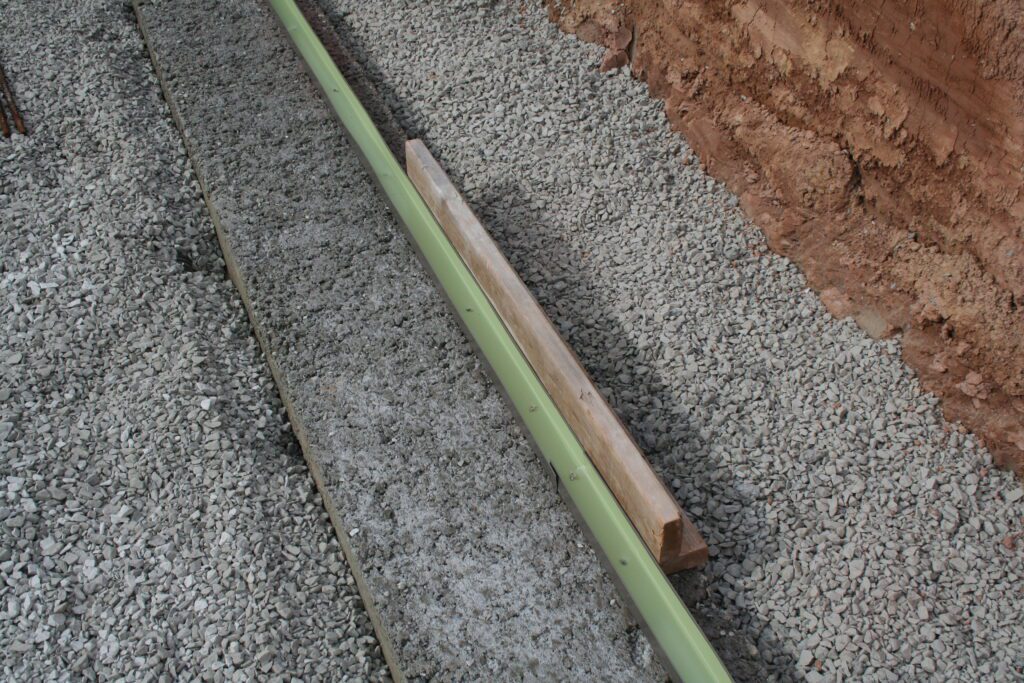
10: Corner angle braces get attached to 2×4 baseplate that is attached to footing with Tapcons
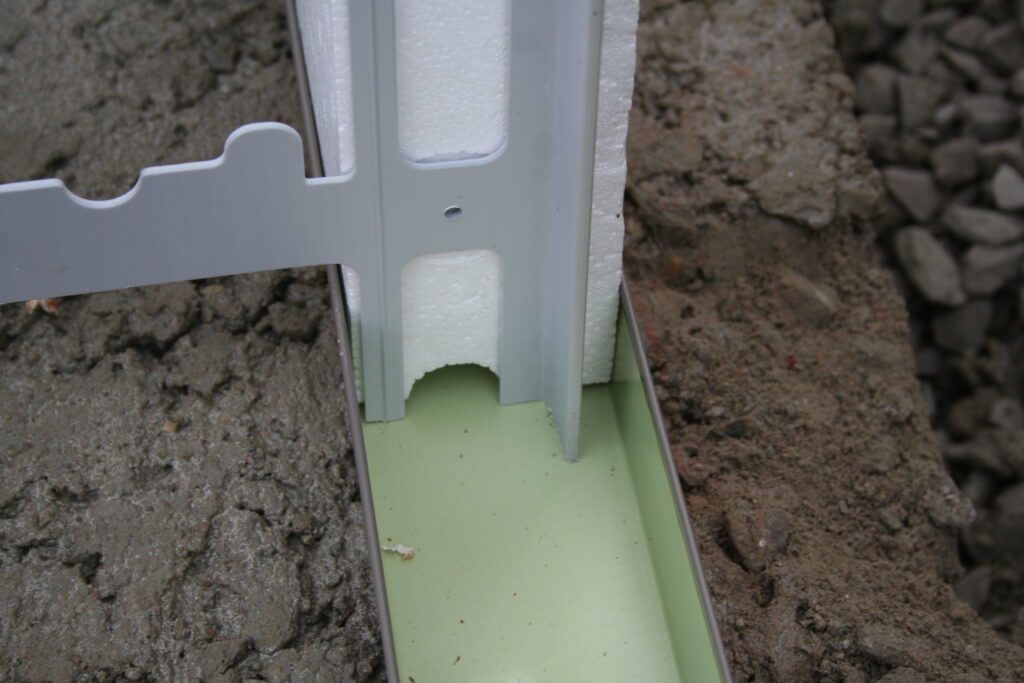
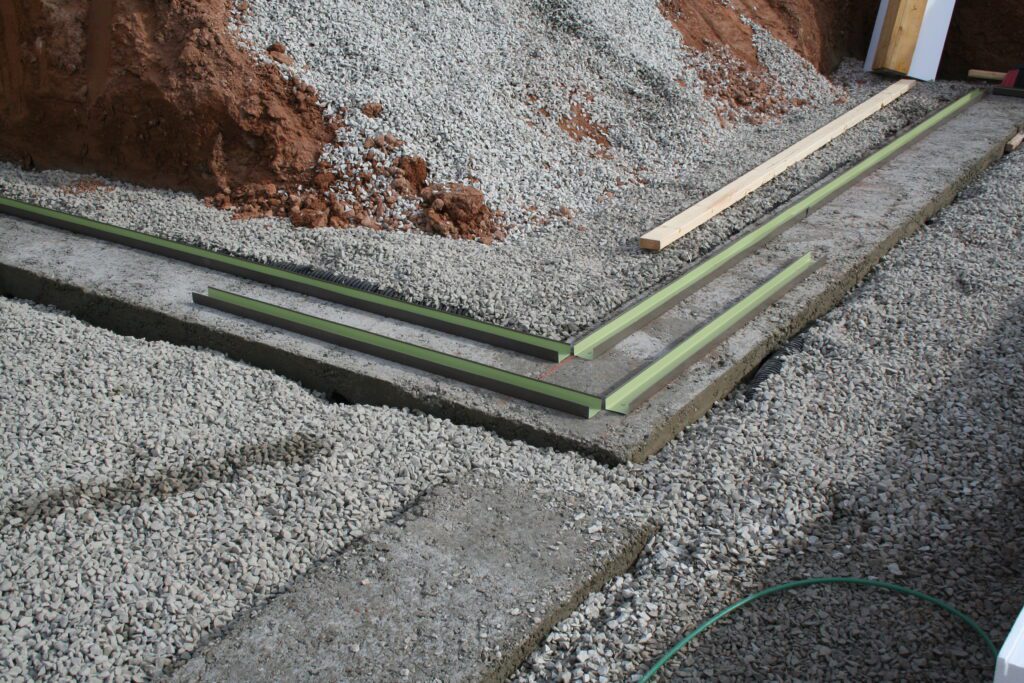
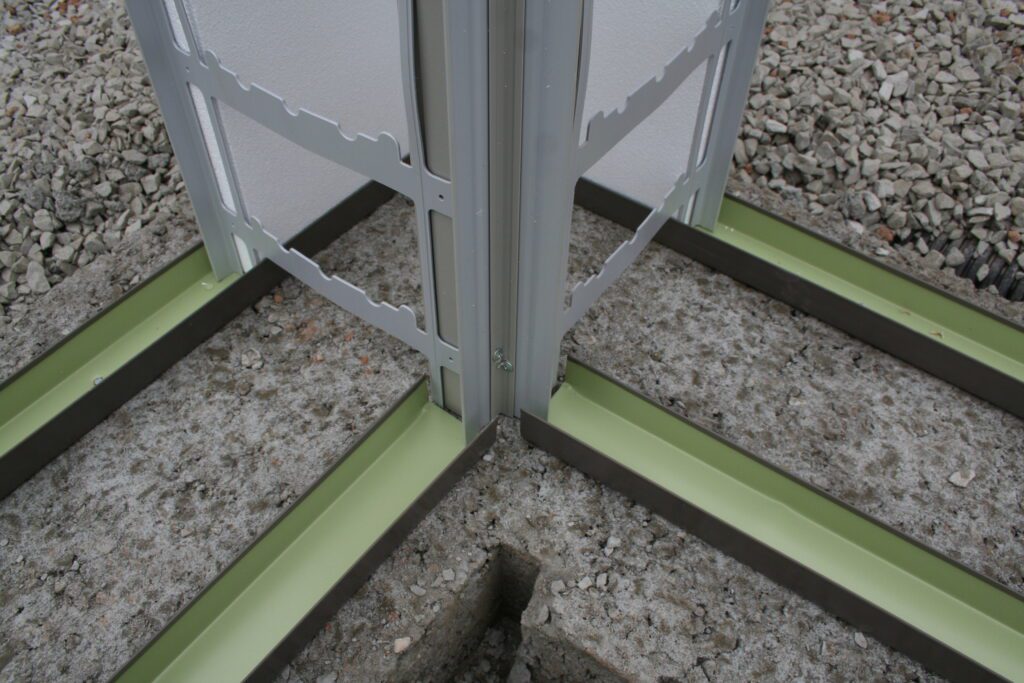
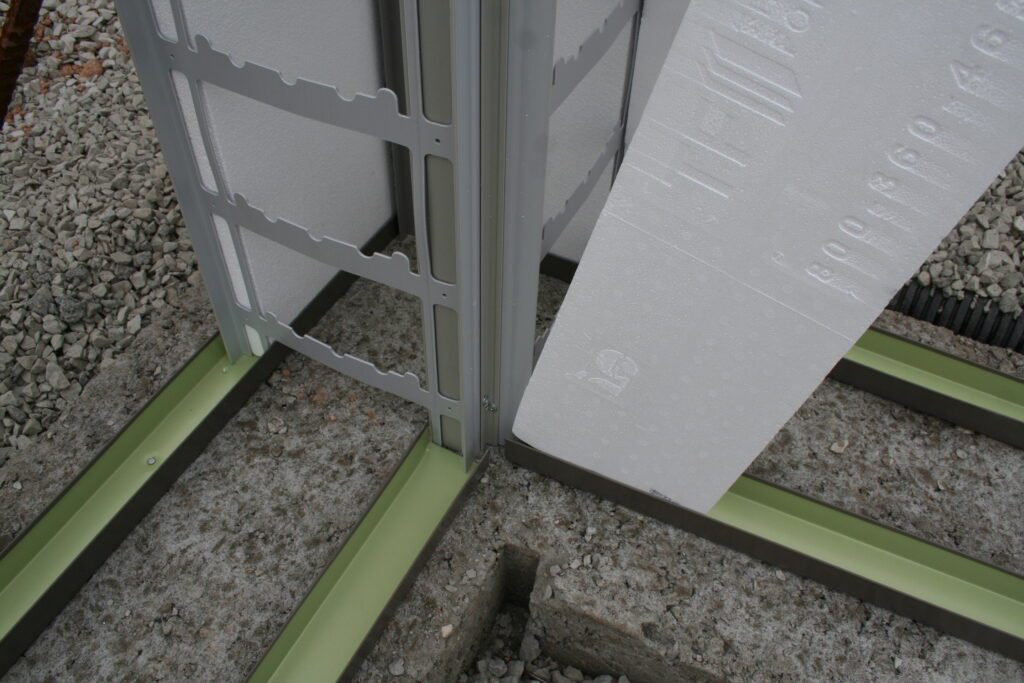
11: Interior c-channel slides under inside corner post
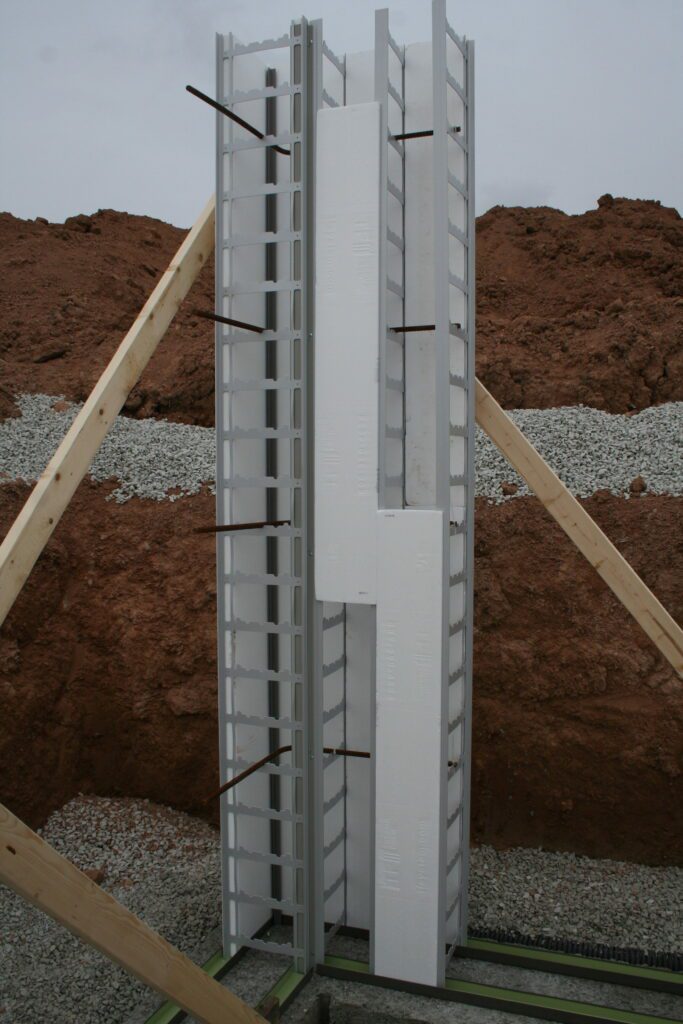
12: Completed corner with angled plumbing braces attached to baseplates
13: Lay the corner re-bars into the corner
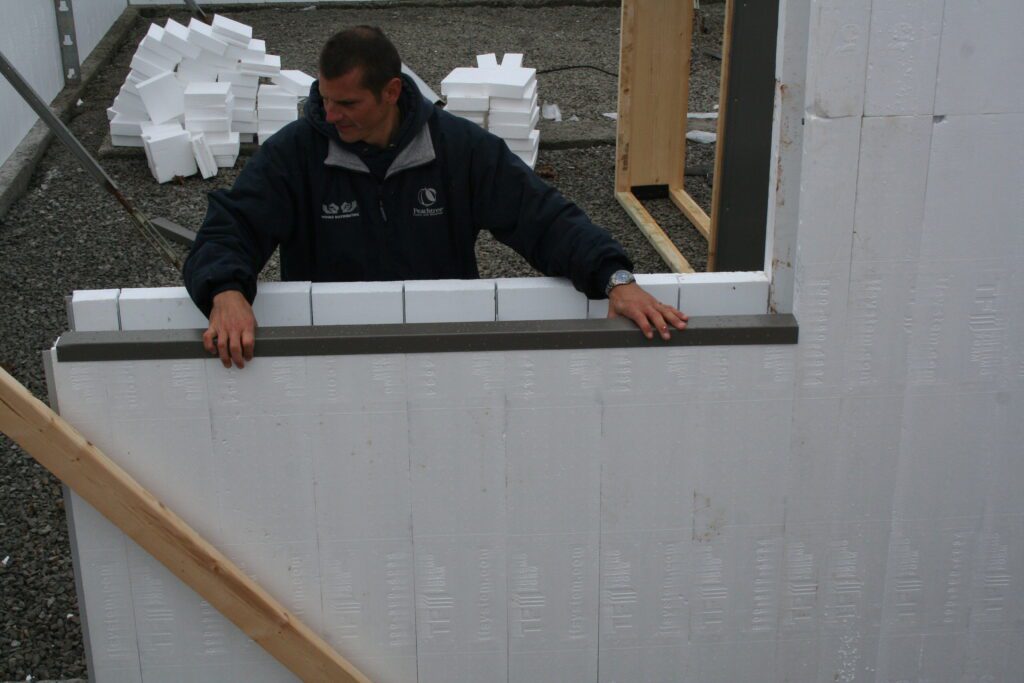
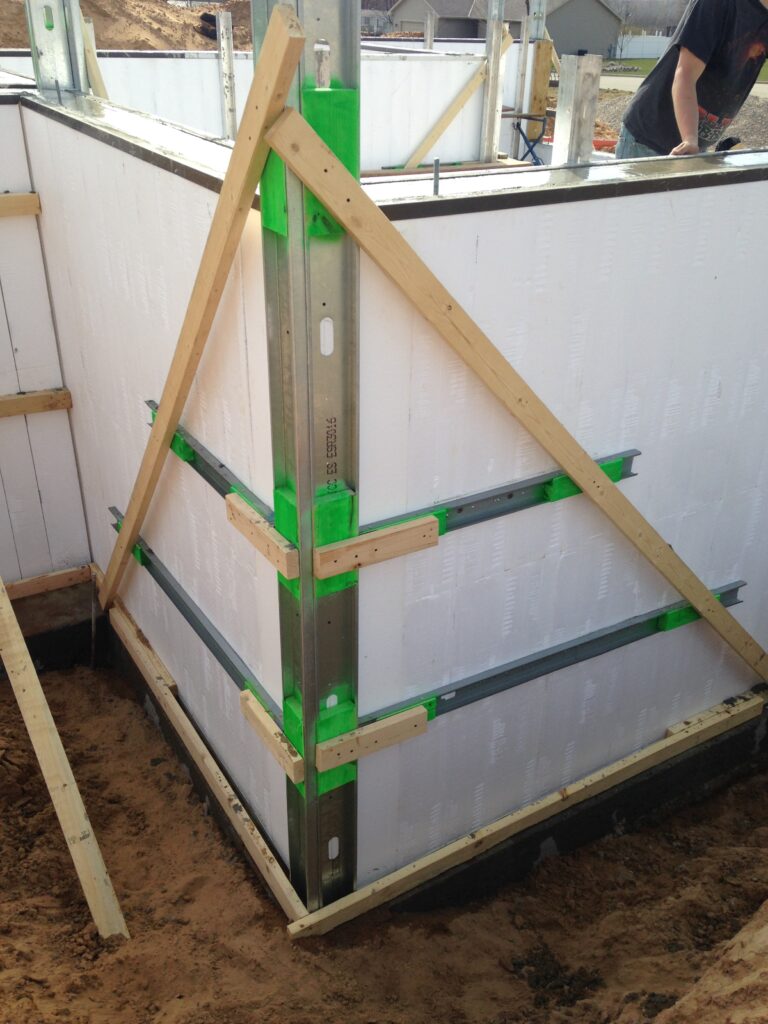
14: Bottom poly panels being installed
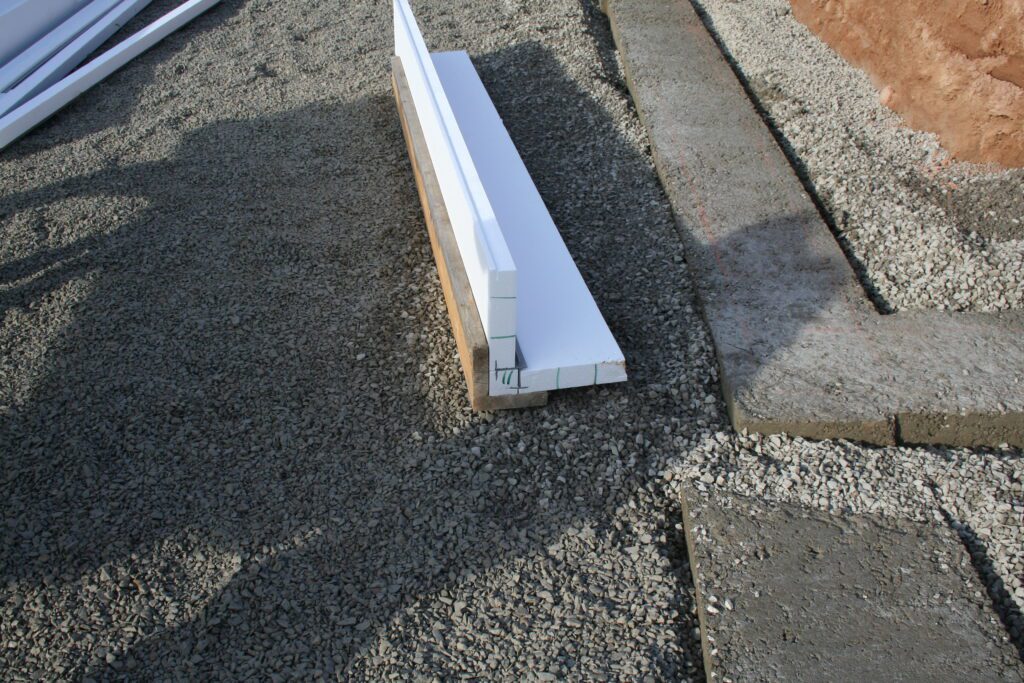
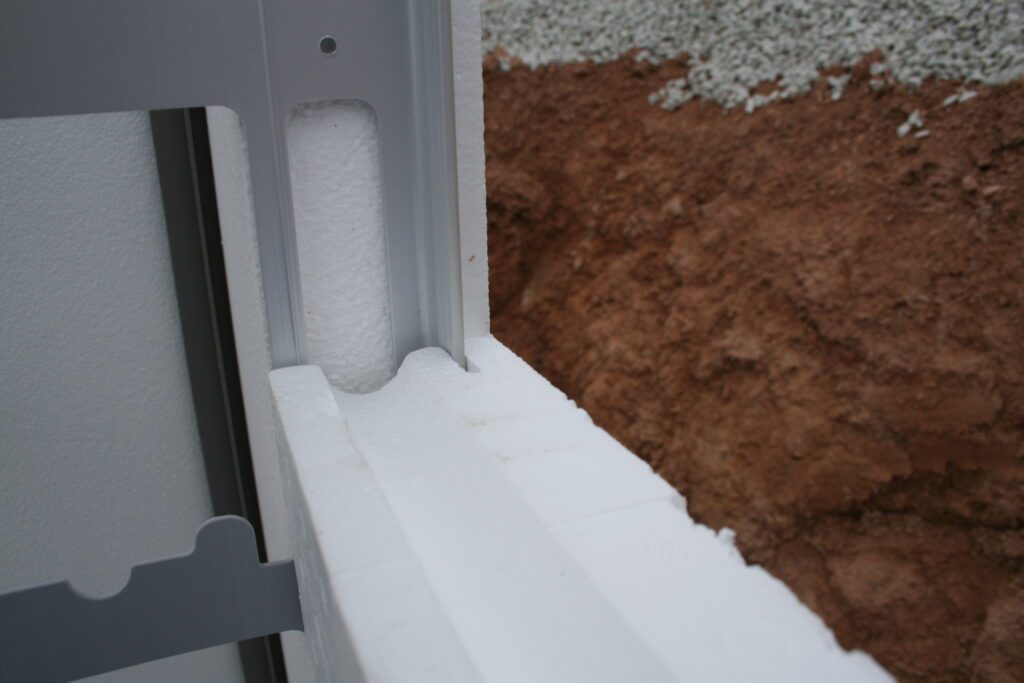
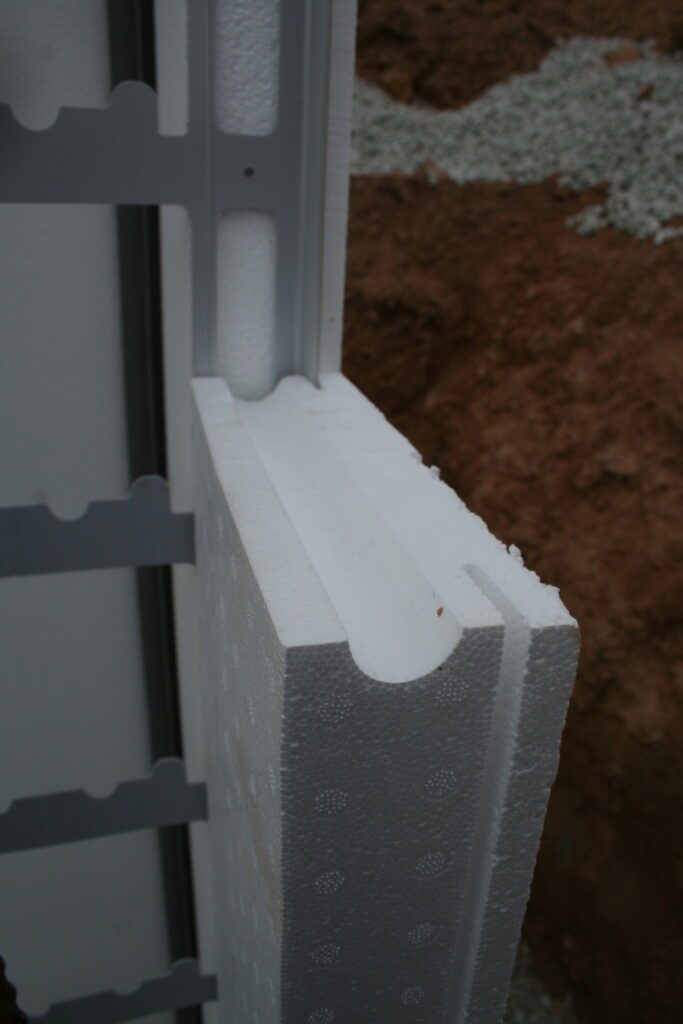
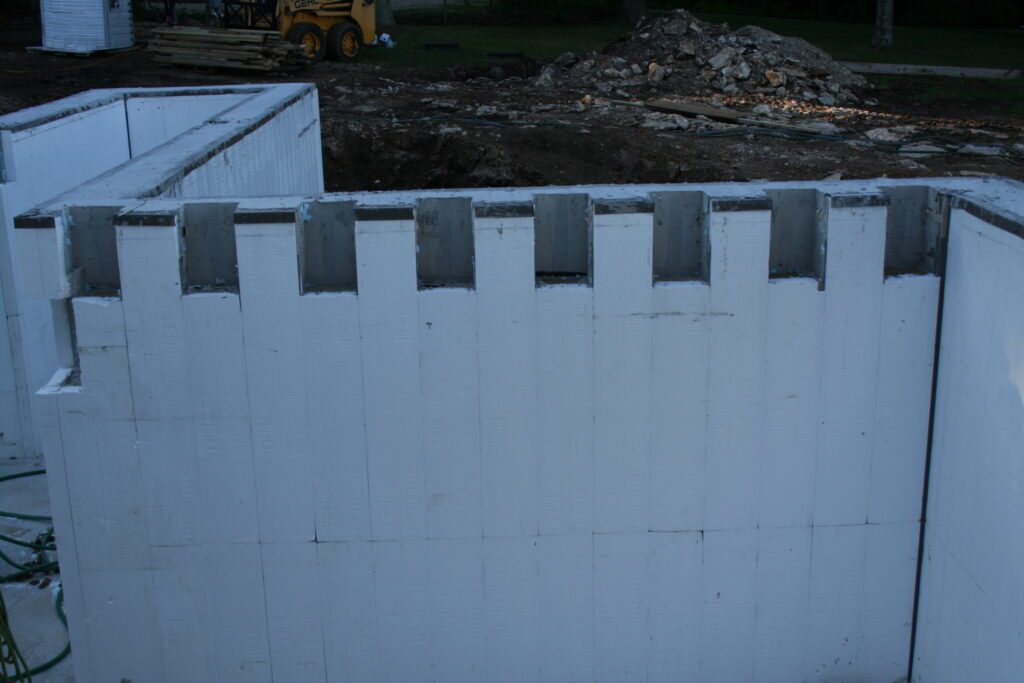
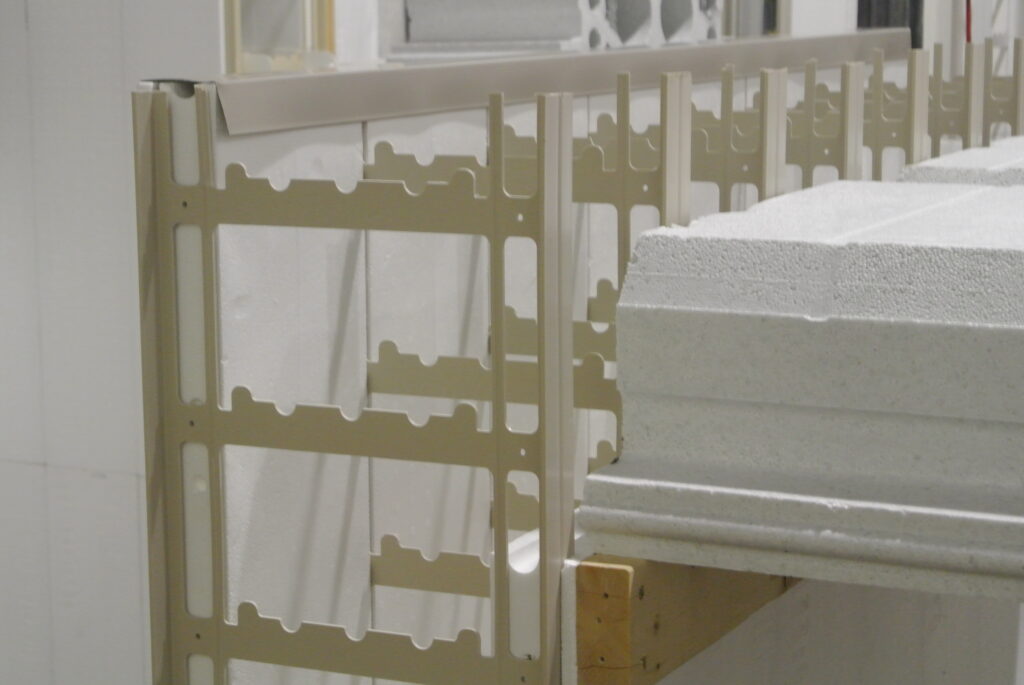
15: The studs slide into a groove cut into the edge of the poly panels
16: An electrical chase is created from the half moons in the poly panels being stacked on top of one another
17: Slide the interior poly panel into corner
18: Using best practice – stack both outer poly panels and only bottom inner panel
19: Once a couple inner poly panels are placed, slide the first panel up, and nail the c-channel to the footing by the corner post
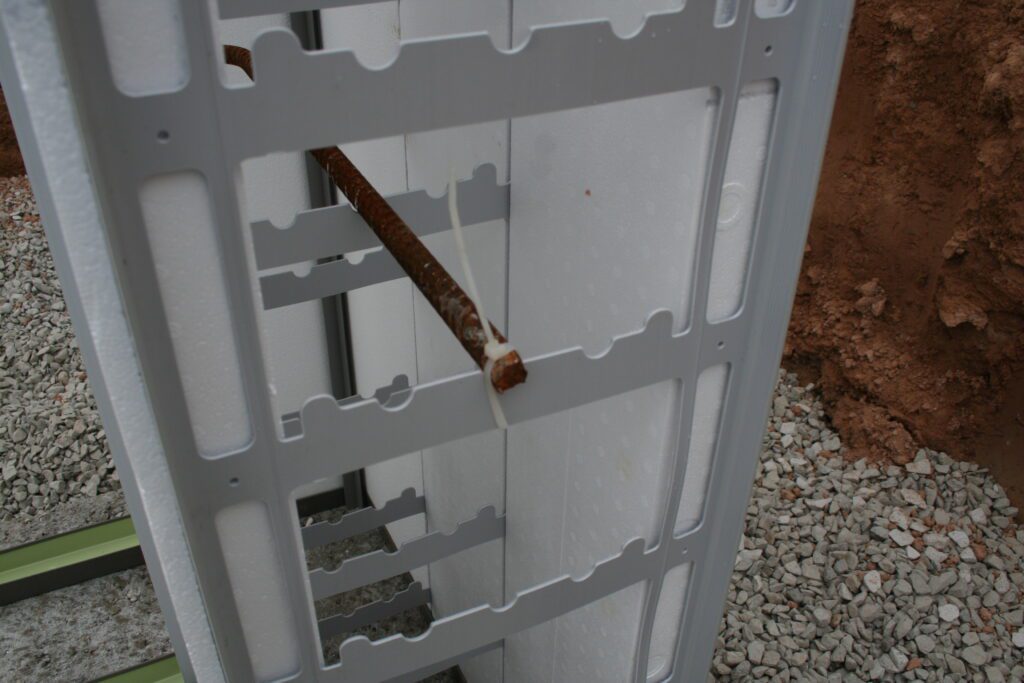
20: Tie the corner re-bar into position. Note: electrical zip-ties work best
21: The top inner panels can be put in at any point during building
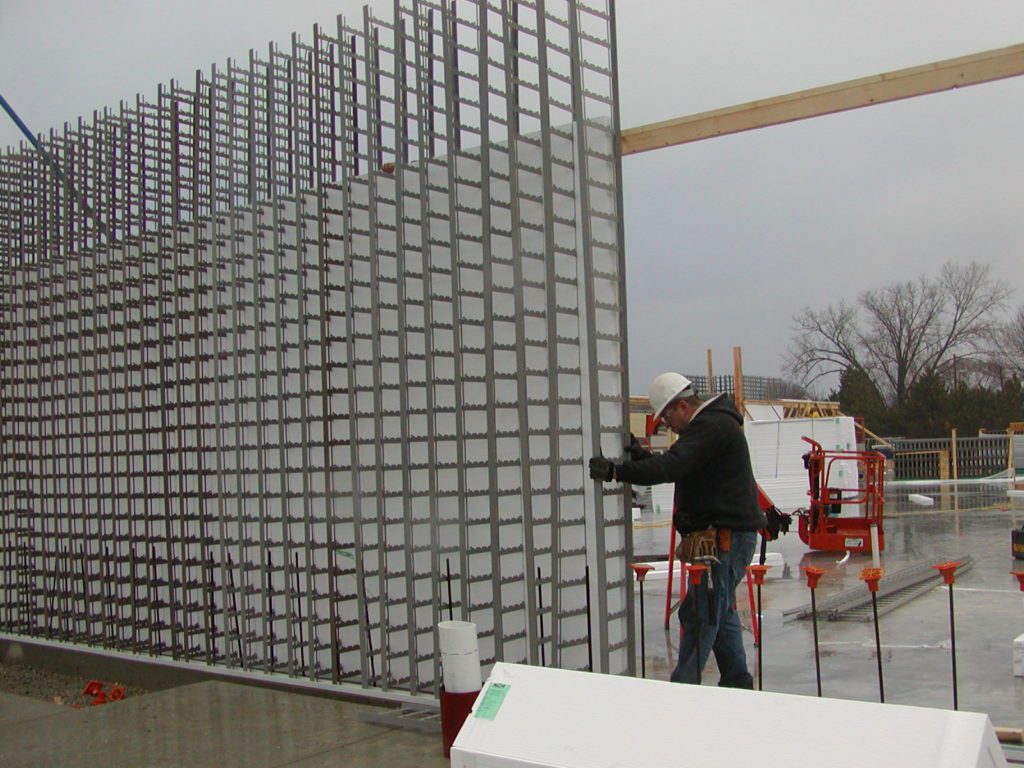
22: Begin building wall
23: The corner can be built off in both directions
24: To fill in the last piece of a wall, slide the poly panel in and down from the top
25: If not windy, the whole wall can be built at once. Typically, the top c-channel is placed on the outside and kicker braced every ten feet as you build
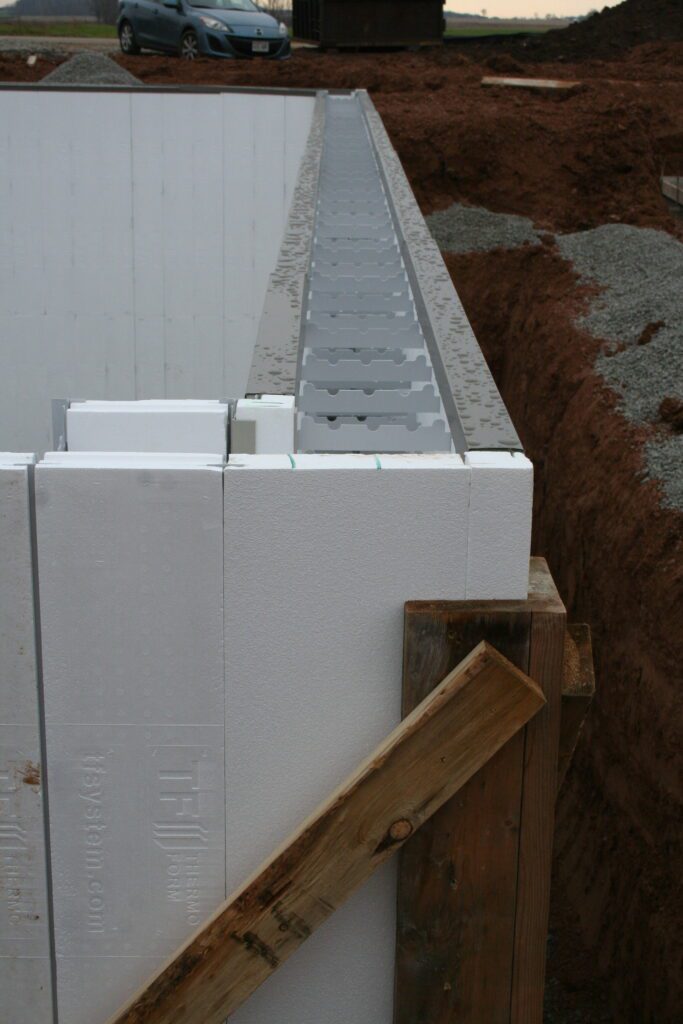
26: C-channels placed on top of the walls but not screwed together until perfectly straight
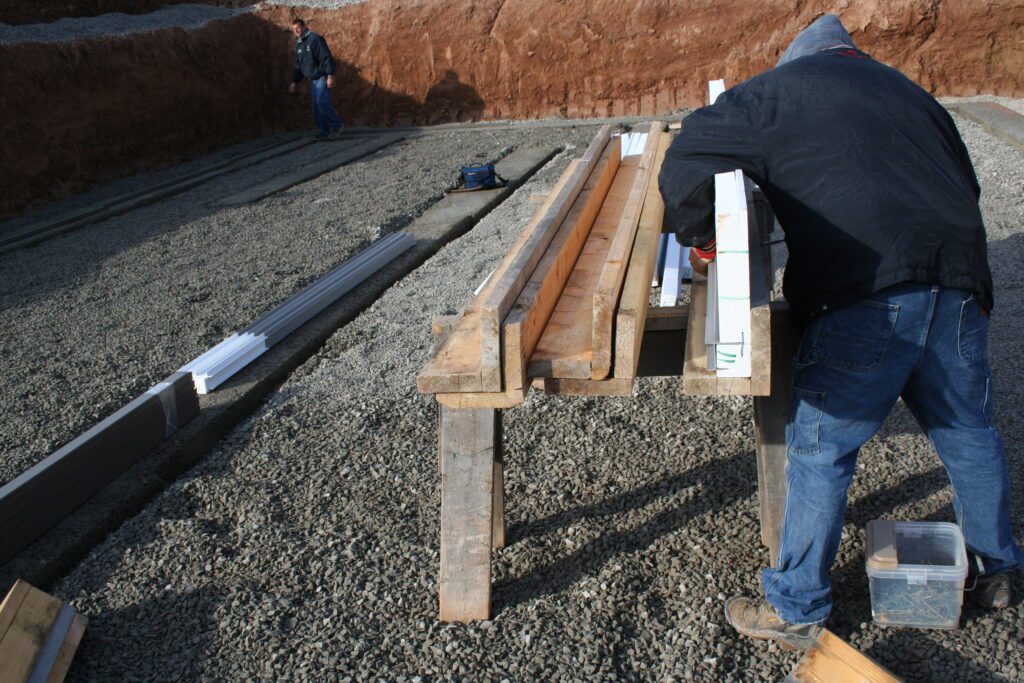
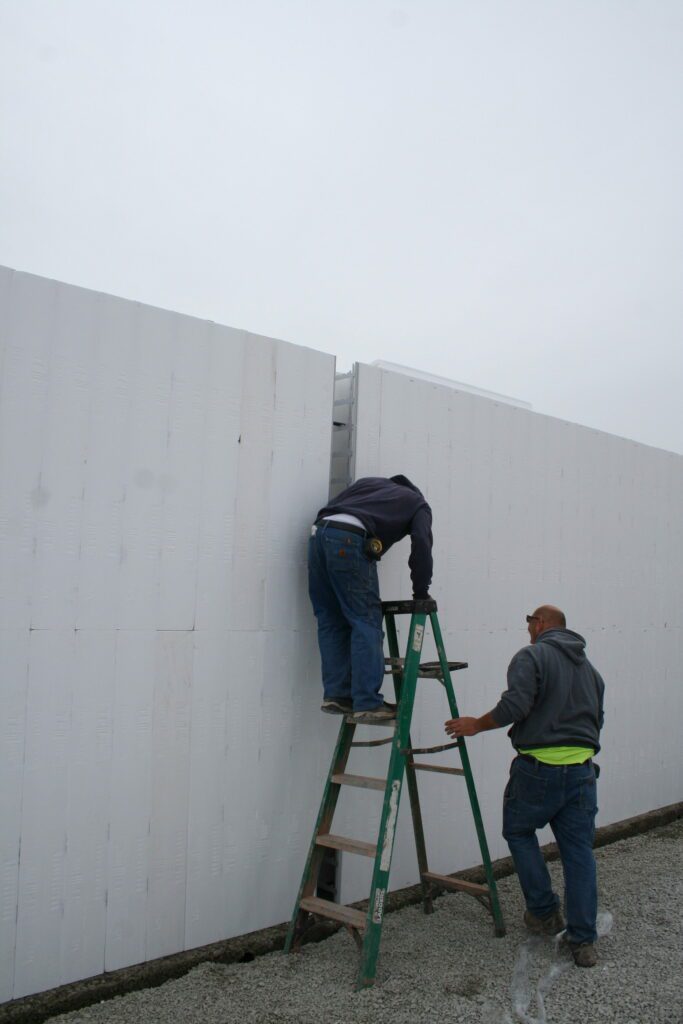
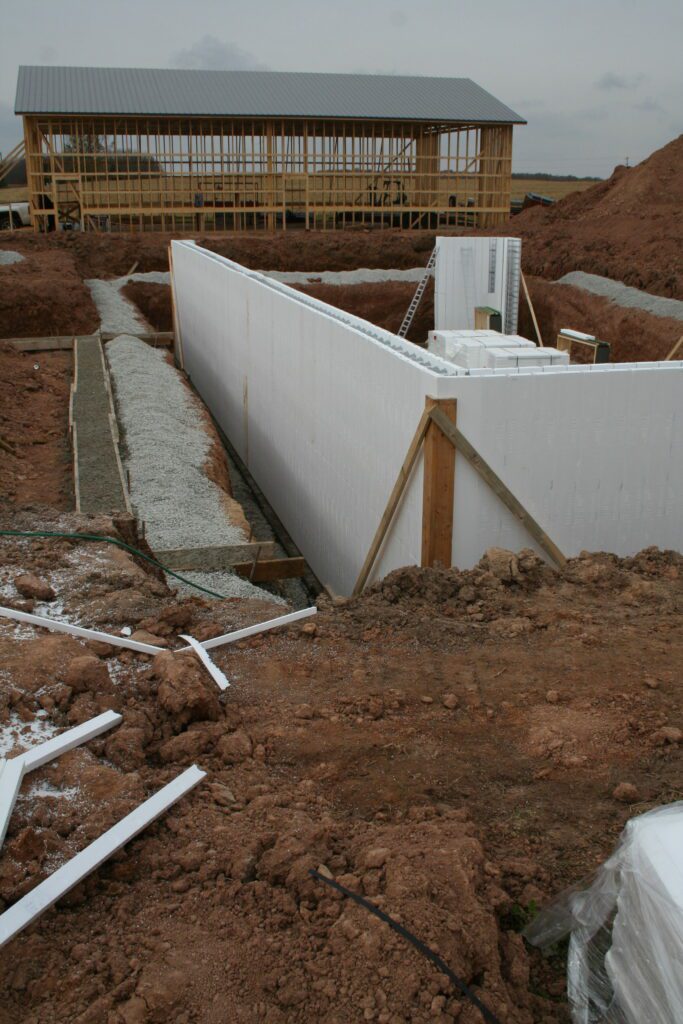
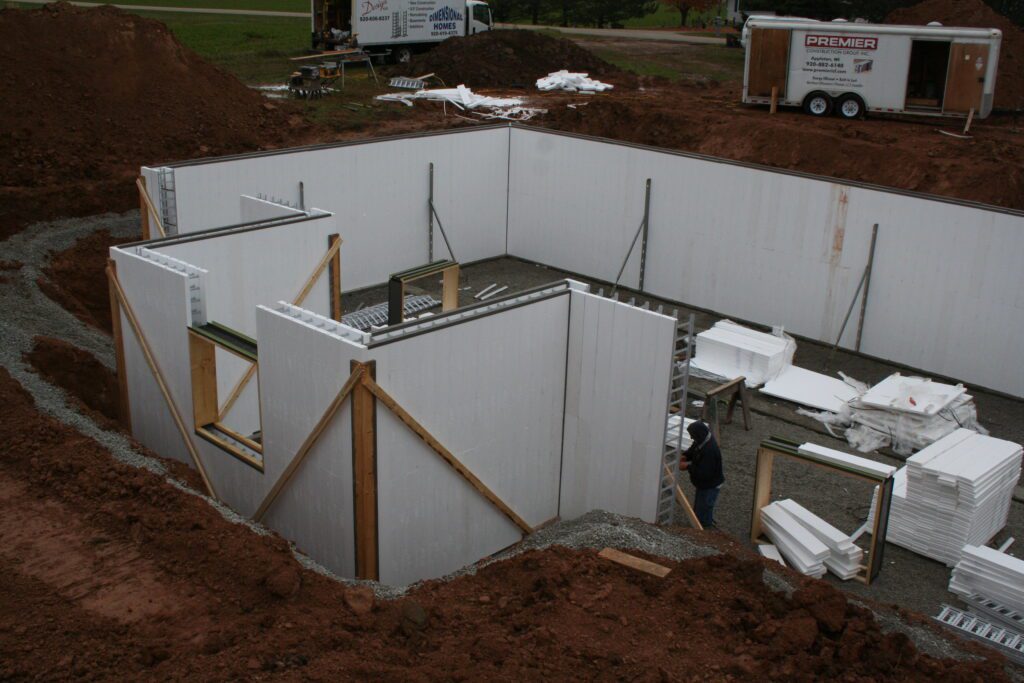
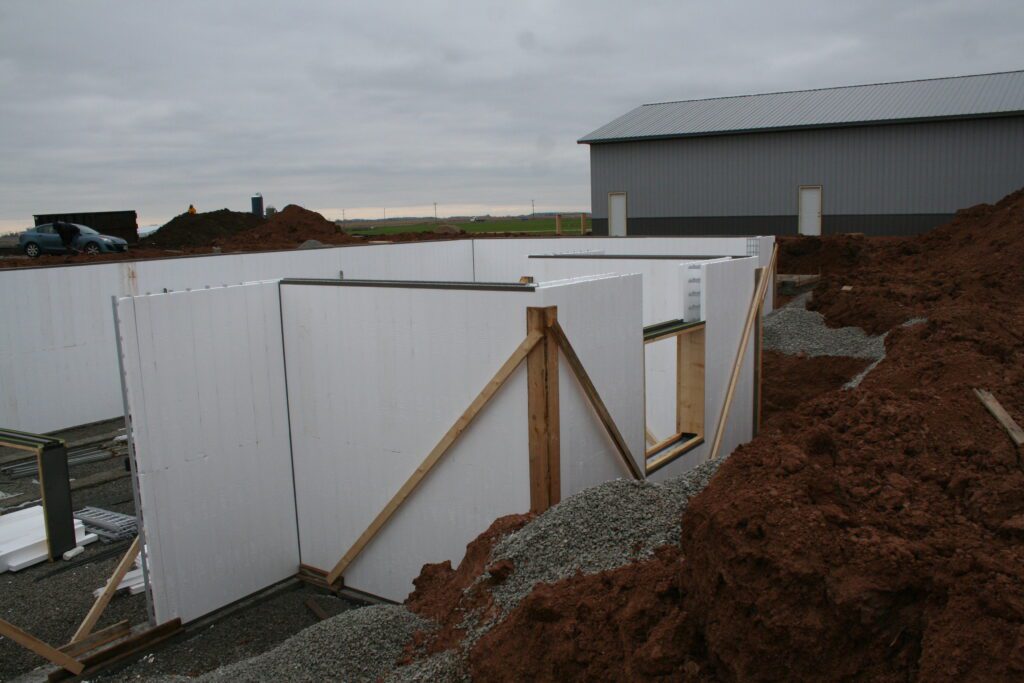
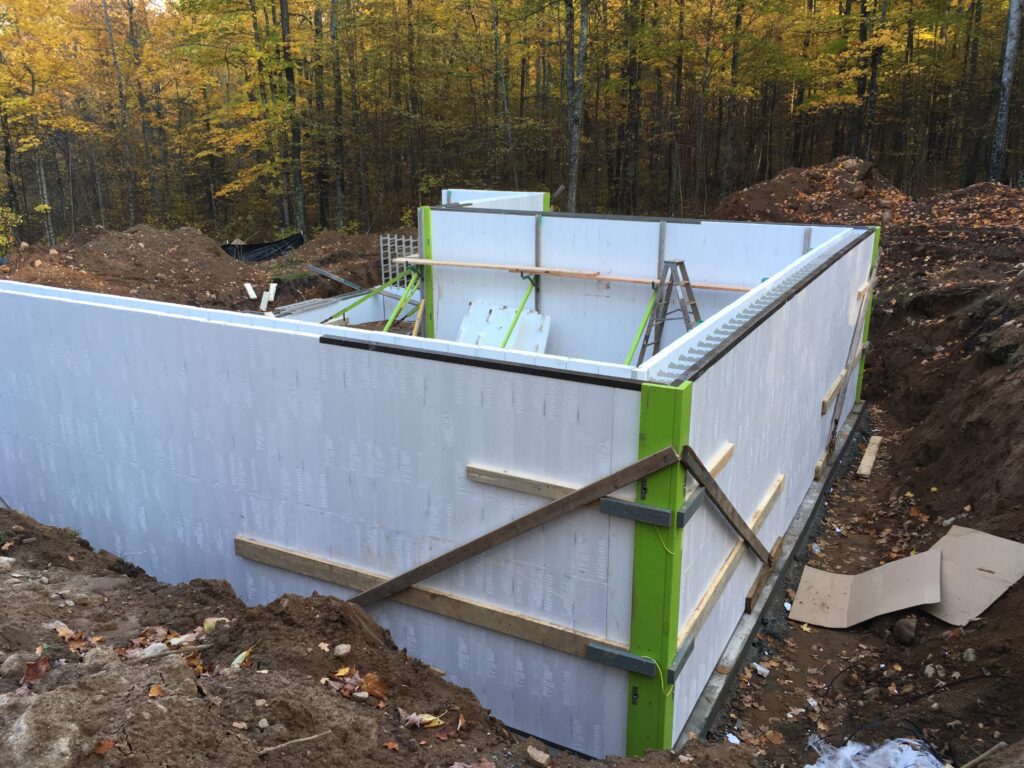
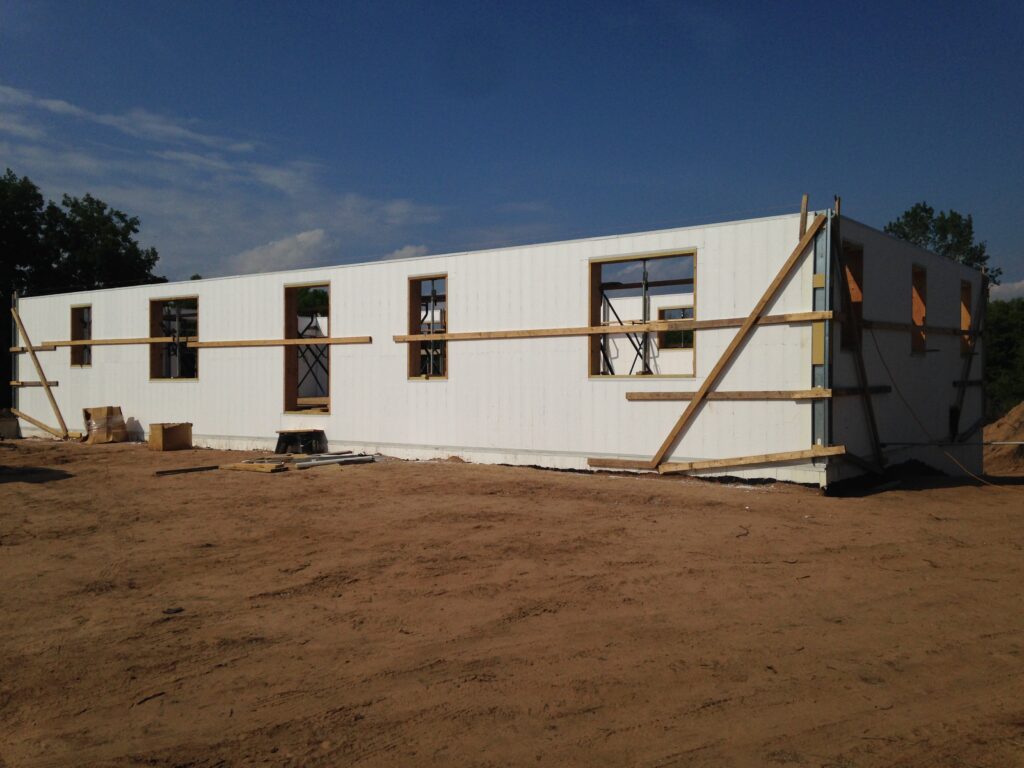
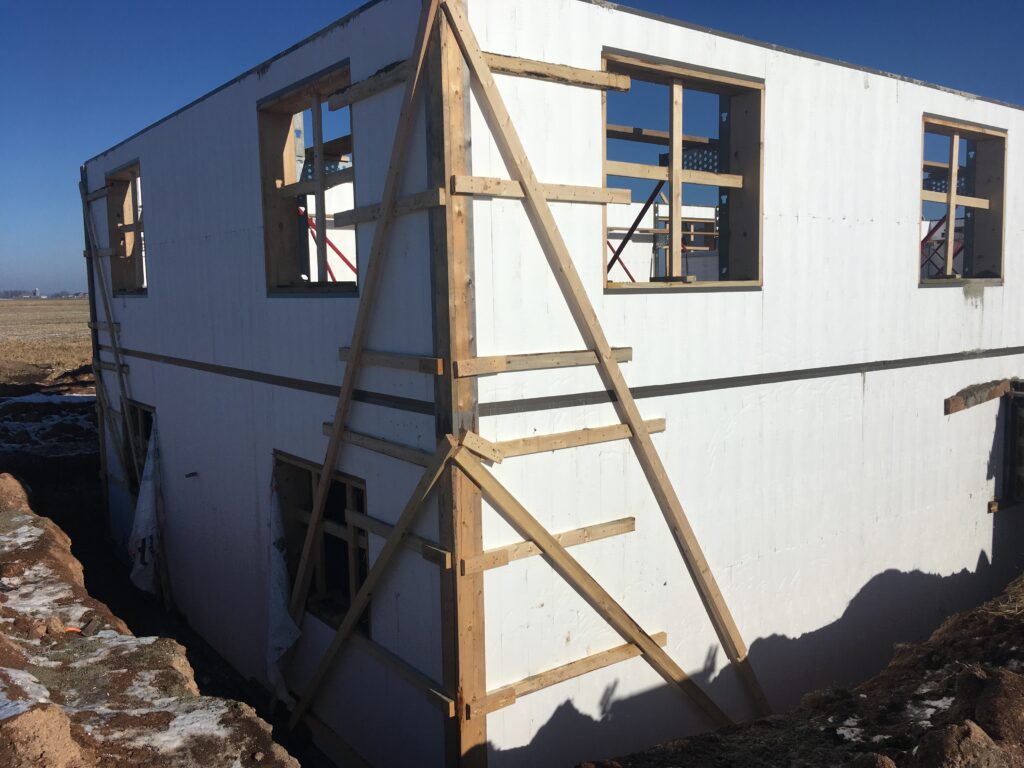
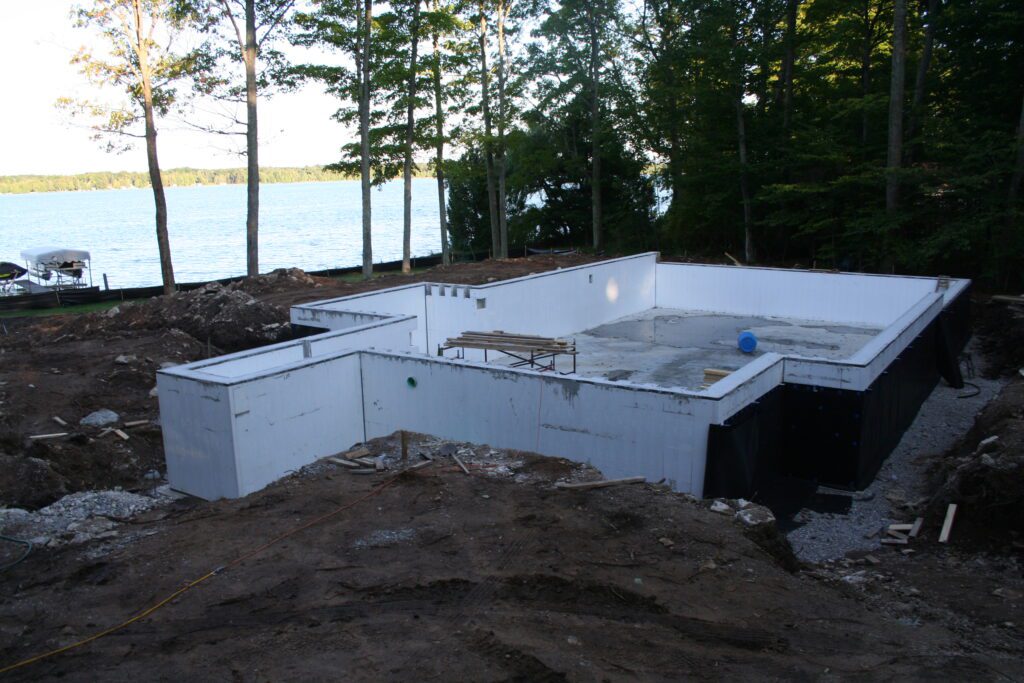
27: Walls in progress
28: Walls in progress
29: Building beneath a window buck
30: A fully braced corner. Note: The bottom horizontal 2×4 is not needed if the c-channel is professionally cut and bent around the corner
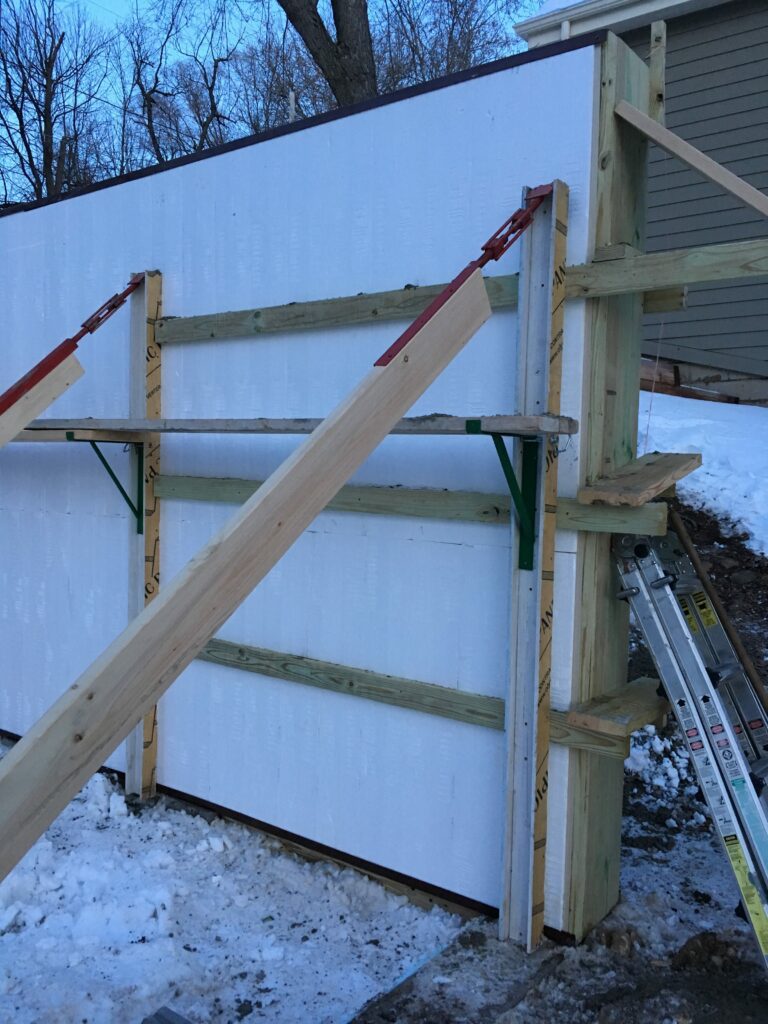
31: Another example of corner bracing
32: Reusable steel stud corner braces
33: Bulkhead bracing
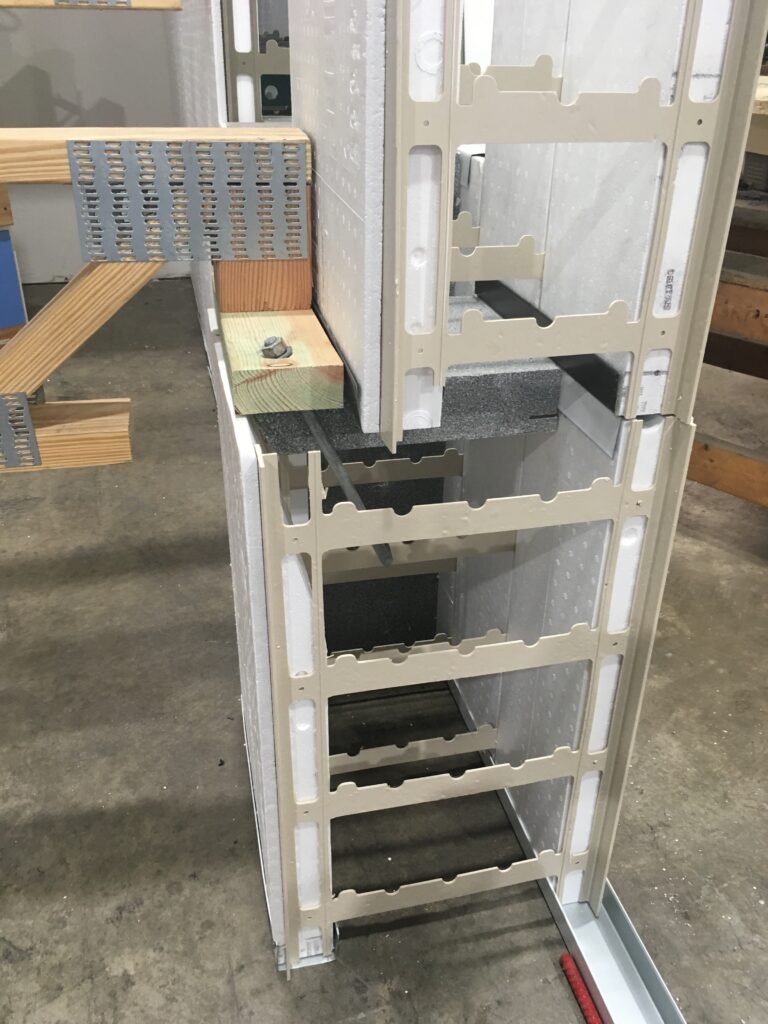
34: LVL-Beam poured into place
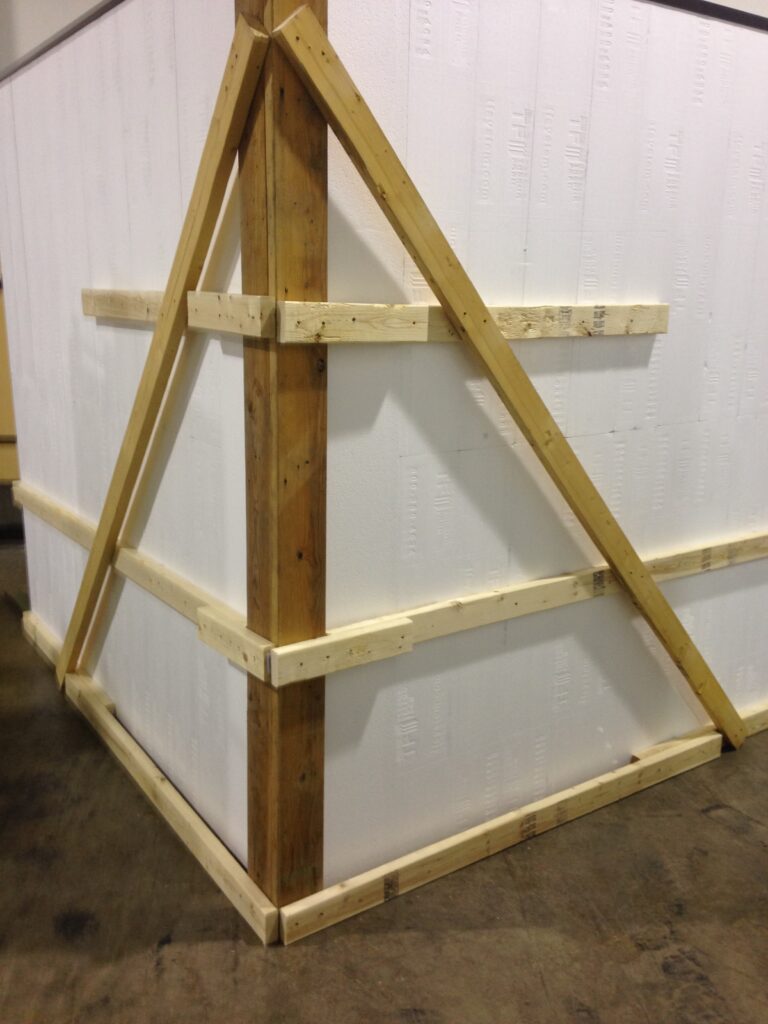
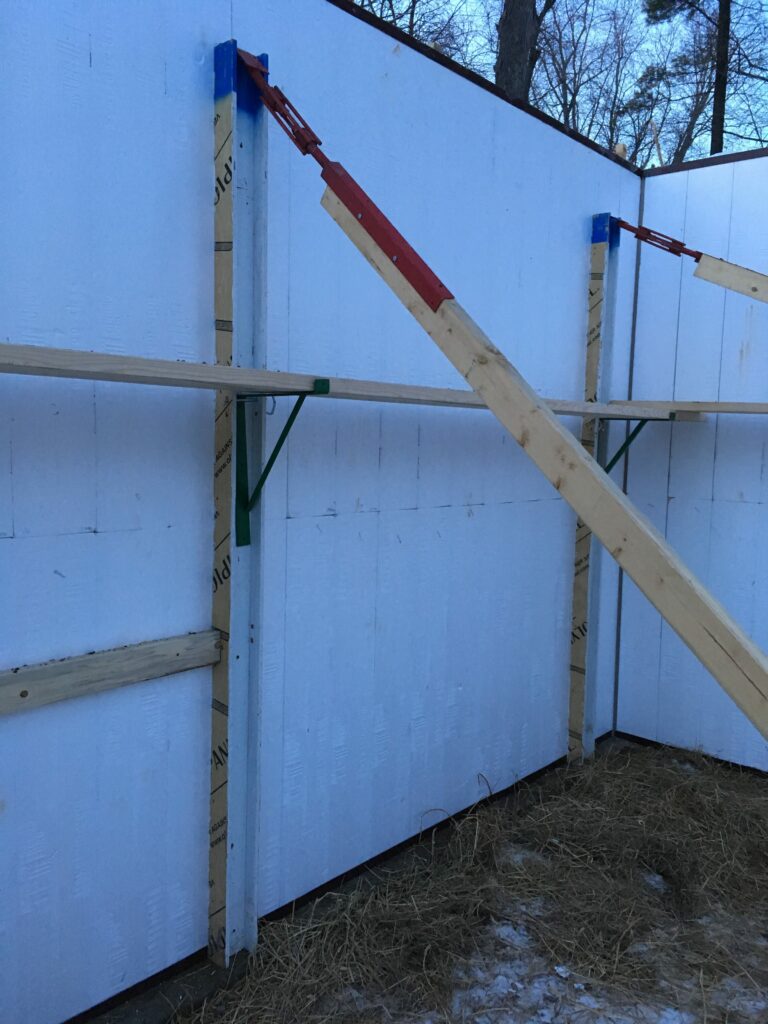
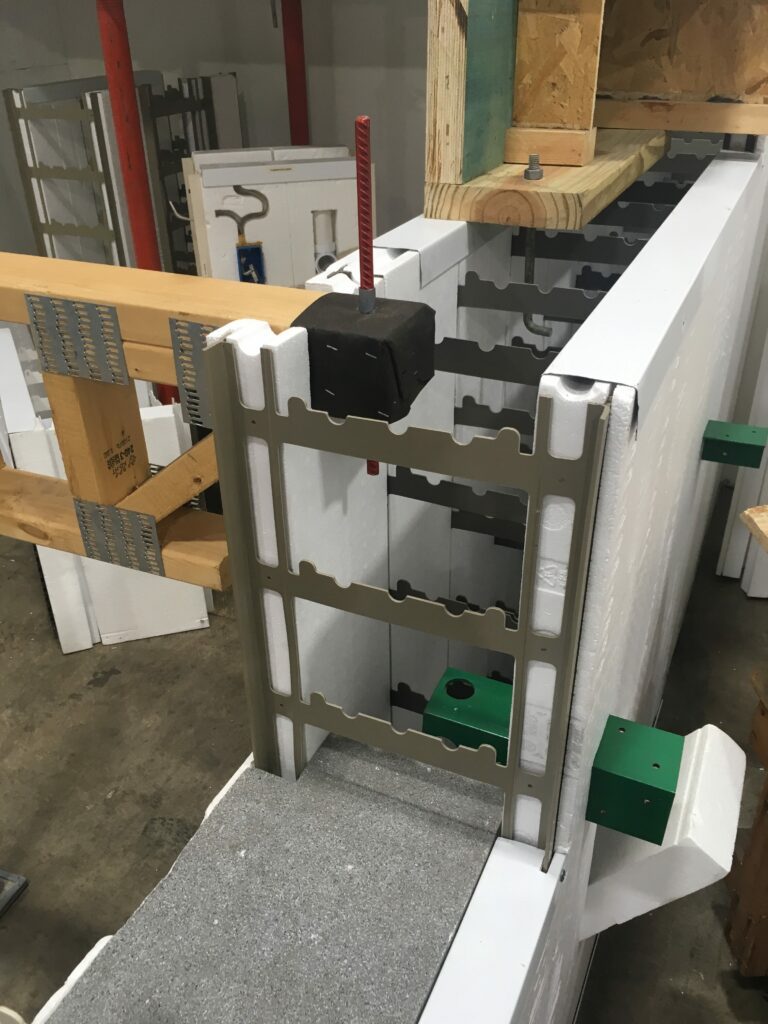
35: Steel beam poured into place
36: Homemade wood bracing system
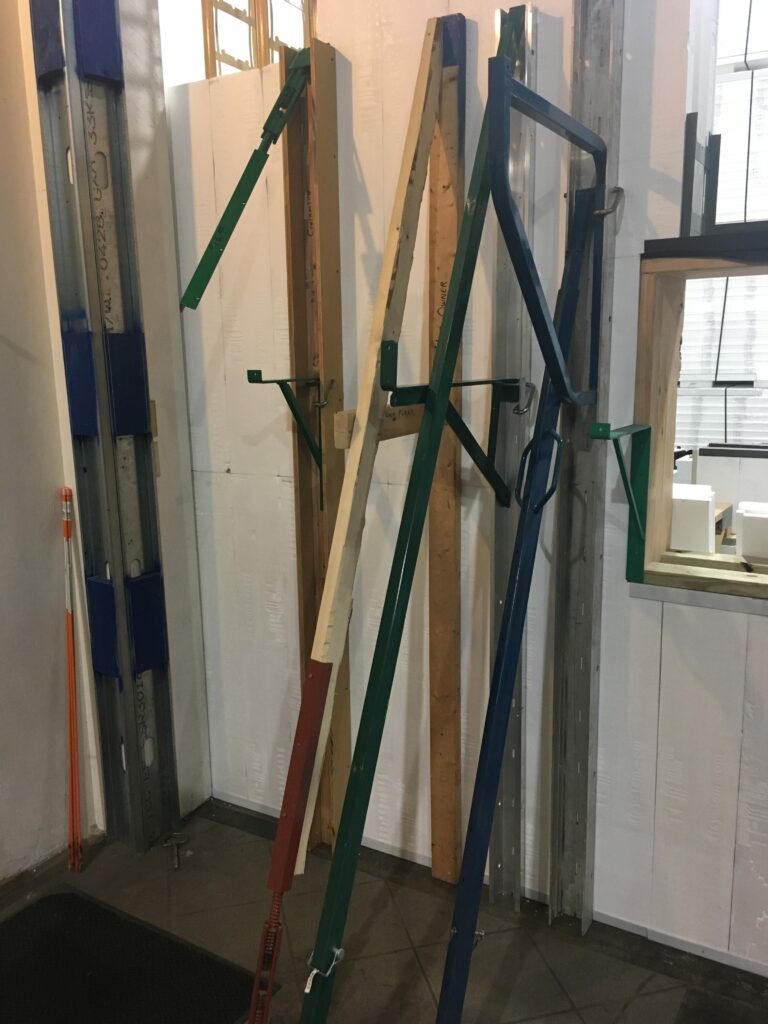
37: Four different bracing systems and a corner brace examples
38: 10″ wall to 6″ wall floor ledge example
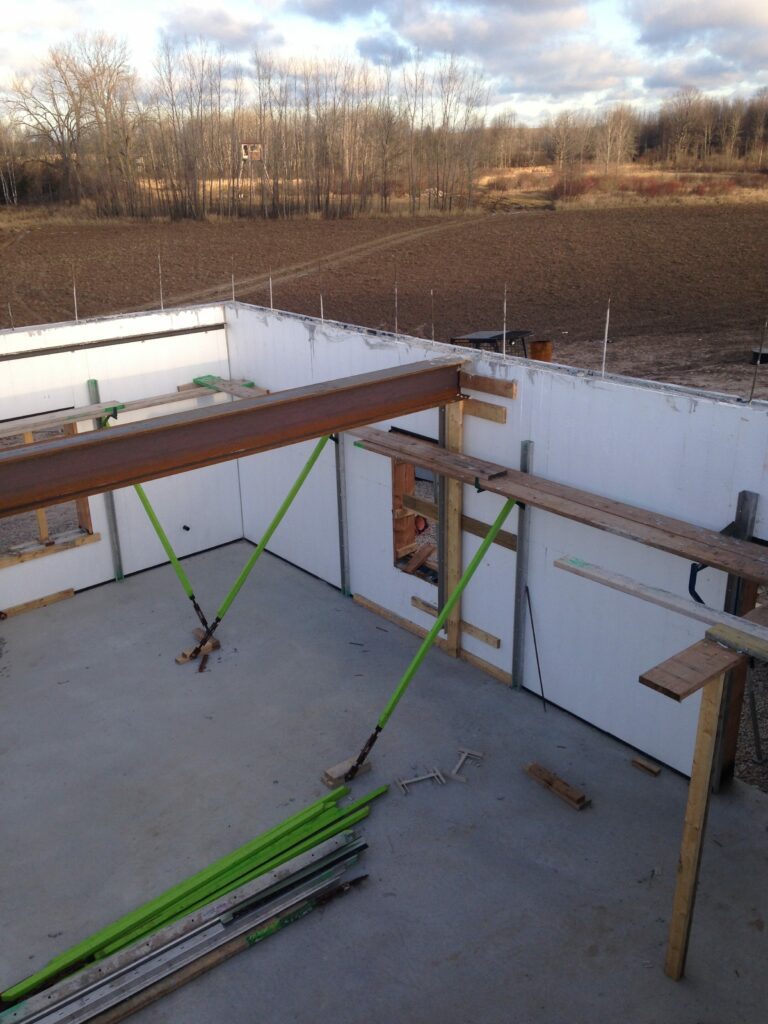
39: Top chord bearing floor truss and angle-iron brick ledge
40: Walls in progress
41: Horizontal bracing when building on windy days
42: Interior return corners get braced the same way as exterior corners
43: Pouring the basement and upper walls simultaneously
44: Pouring using a pump hose
45: Commercial wall with pre-cast floor ledge
46: Wall sections can also be pre-made
47: Finished wall
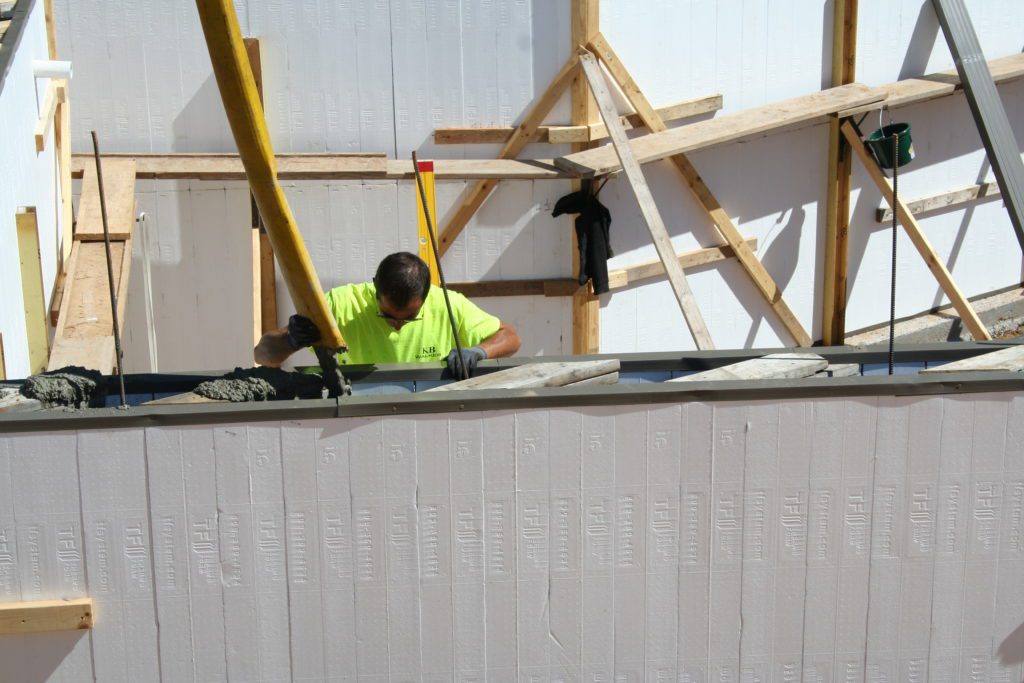
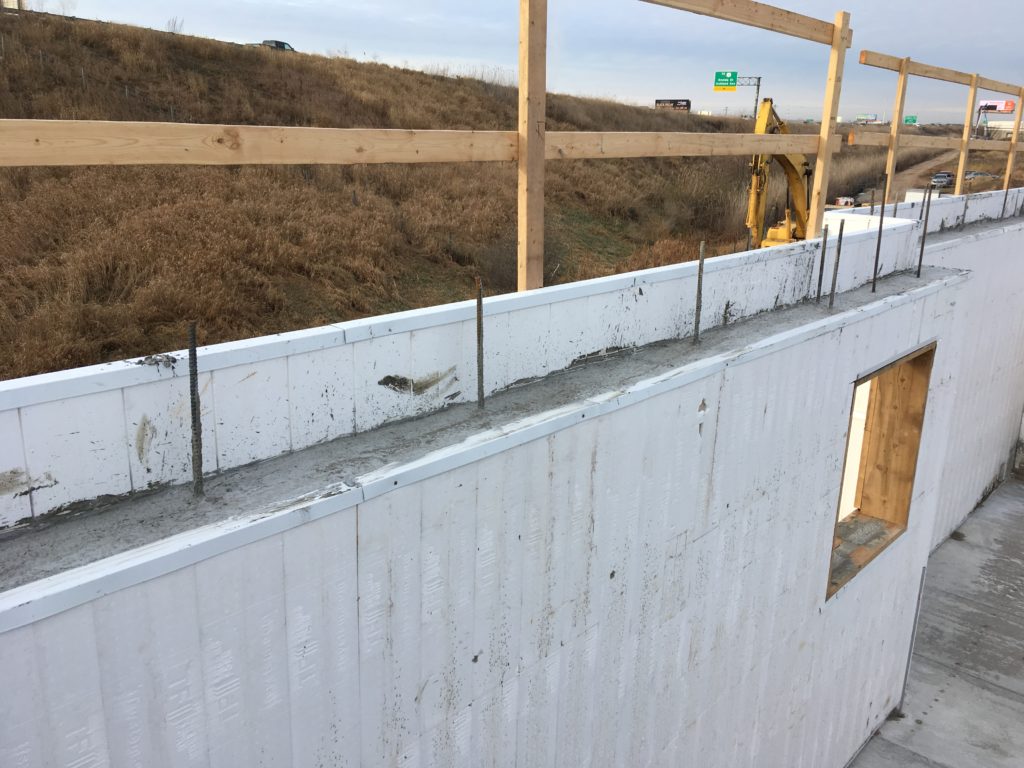
48: There is no reason to not have clean and straight walls
49: Clean and straight walls
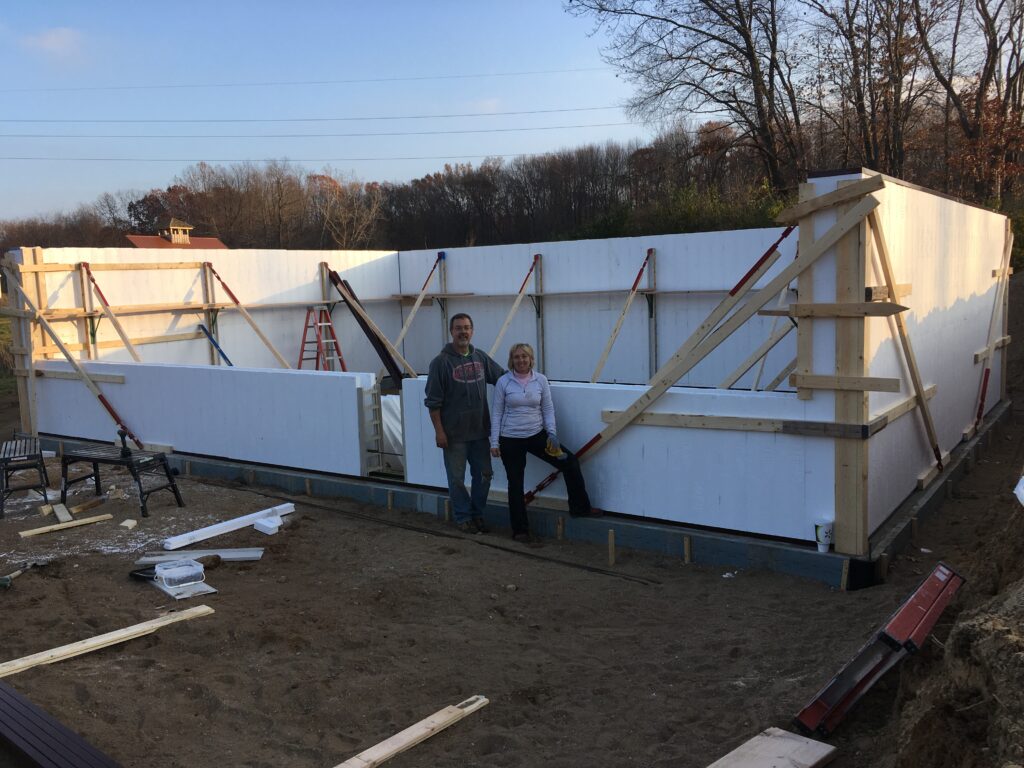
50: Example of a couple that built this basement themselves in one day with the guidance of an experienced trainer
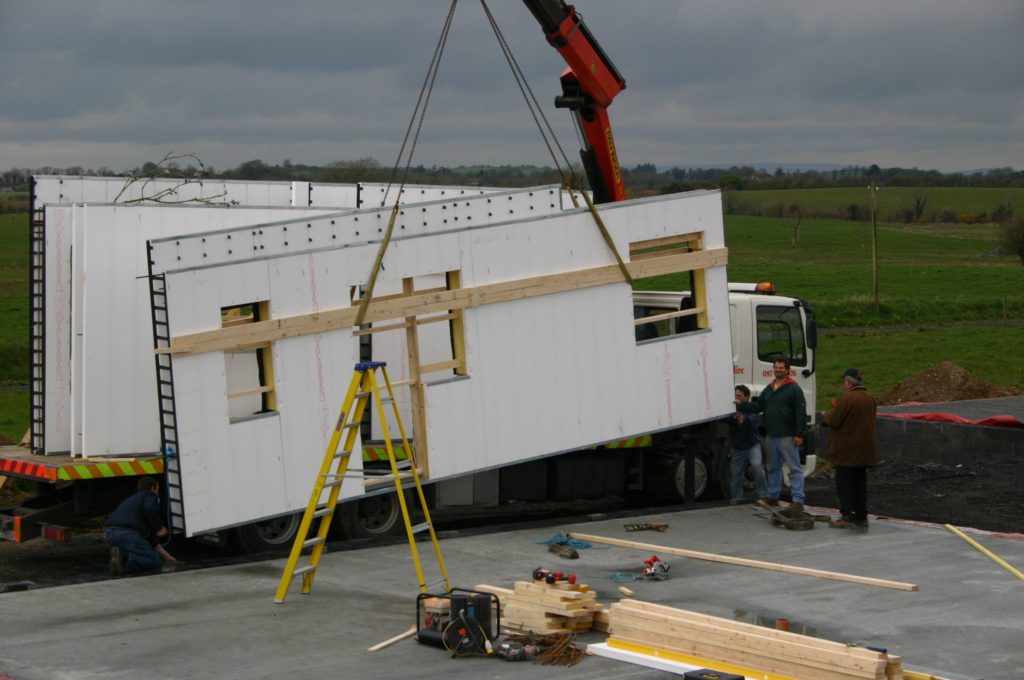
51: Crawl space walls
52: TGI pockets
53: Example of attaching baseboard trim
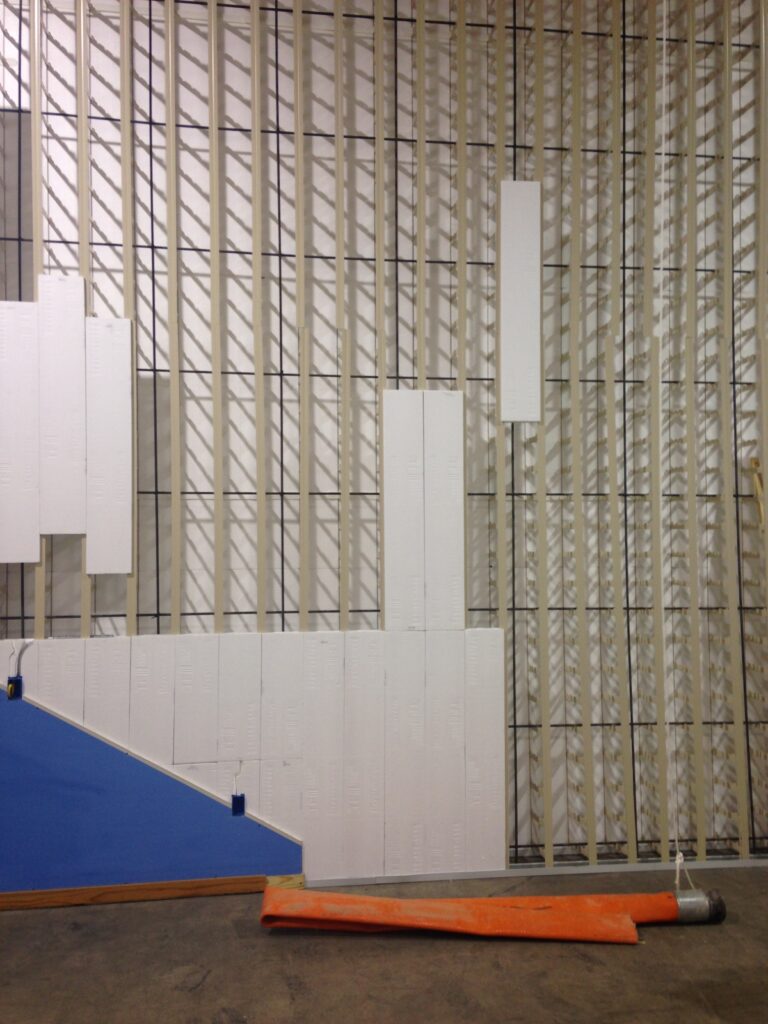
54: Tall wall example. Panels can be slid up and down throughout the whole wall. Pictured: best hose to use on a pump truck
55: Building tall walls from ground height
56: Insul-deck connected to TF wall. Walls and floor can be poured simultaneously
57: Fastening building paper with nail gun
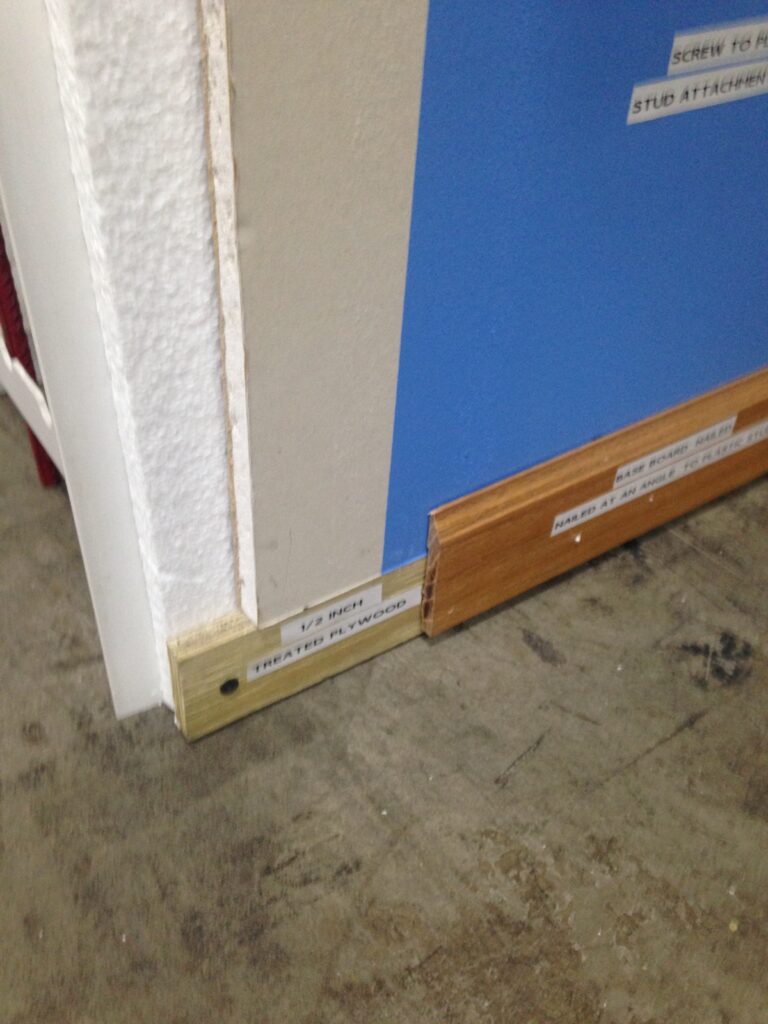
58: Recommended nail gun for fastening building paper
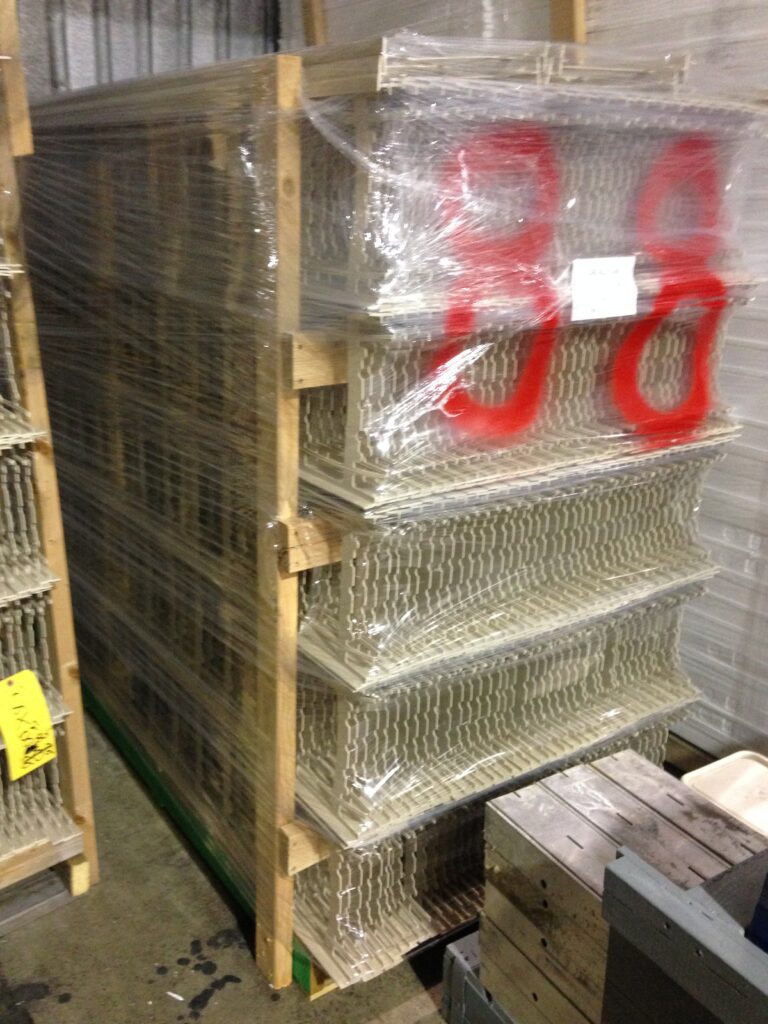
59: Pallet of 240 studs = 160′ of wall
60: Cat clamp (old-timers)
61: Example of LTL pallet. Add two more bundles of poly panels to get 94′ of 10×6 wall